When it comes to a kitchen cabinet makeover, a lot of people think it is way outside of their budget. But you can transform your kitchen at a fraction of the cost when you learn how to paint kitchen cabinets that are stained. Keep reading to learn how!
The average cost in the United States for new wood cabinets ranges anywhere from $4,000 to $13,000. And that’s just the average. Depending upon the quality of the cabinets you choose, you could spend upwards of $24,000 or more. That’s a lot of money.
But don’t despair. If you don’t have a budget like that for your kitchen (or simply don’t want to spend that much) there is an option that can transform your old kitchen cabinets, make them look brand new, and not cost you an arm and a leg.
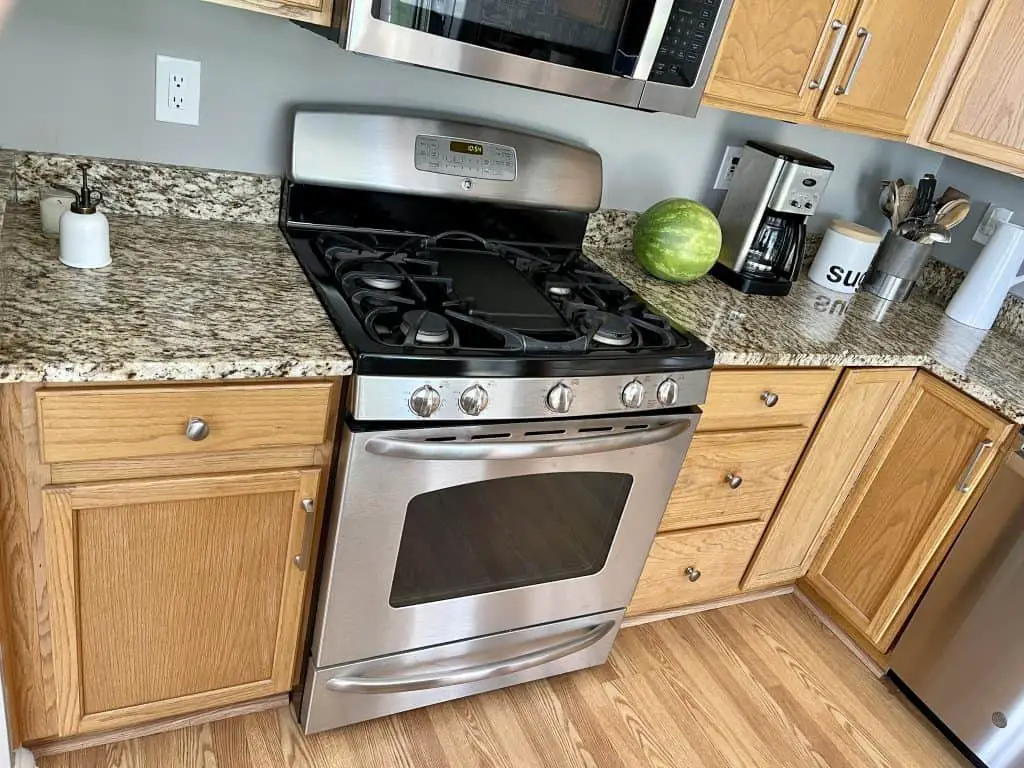
The solution is to learn how to paint kitchen cabinets that are stained instead of replacing them. While it’s a more advanced DIY project, you can do it yourself with a little bit of a learning curve.
If you have been contemplating a kitchen makeover, your cabinets themselves are probably in pretty good shape. They likely have “good bones” as they say. You just want to change the way they look. Make them more modern. Update them to suit your style and tastes.
To get a new look in your kitchen, sometimes all you need is some new hardware, but if your cabinets are a bit dated and you want to make them look newer and more modern, you might want to consider painting them with a beautiful fresh coat of paint.
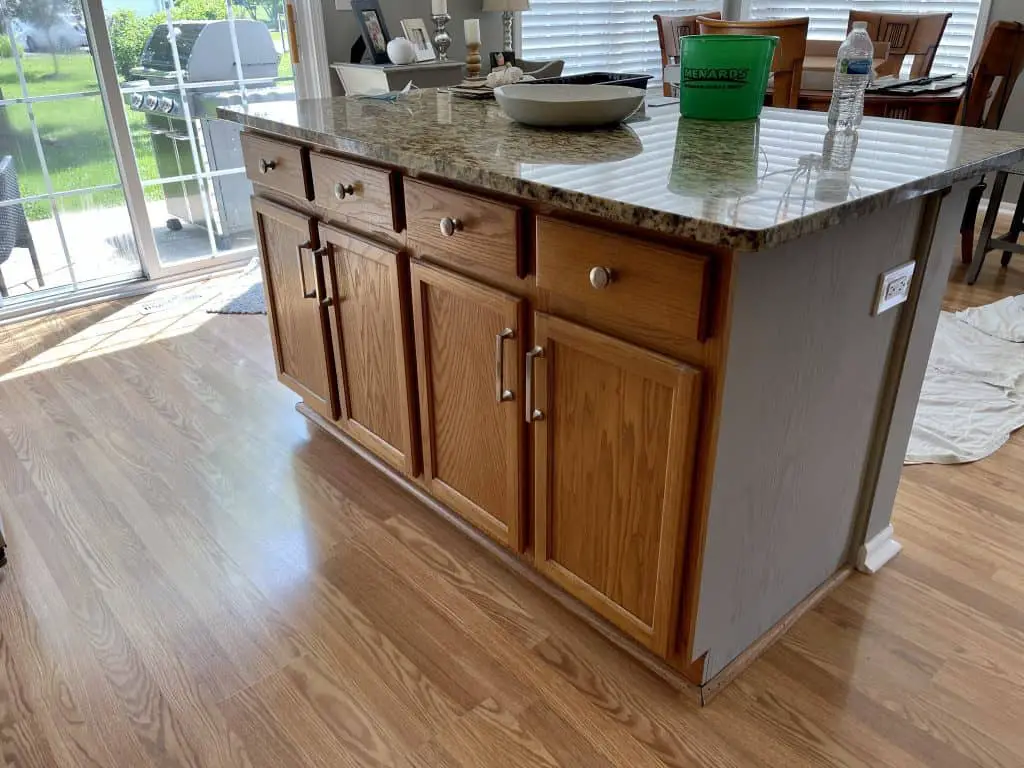
Painting kitchen cabinets is something you can hire someone to do, but you can also learn how to paint kitchen cabinets that are stained yourself like a pro with a little bit of effort and some attention to detail. And doing it yourself is a good idea that will save you a lot of money in the long run.
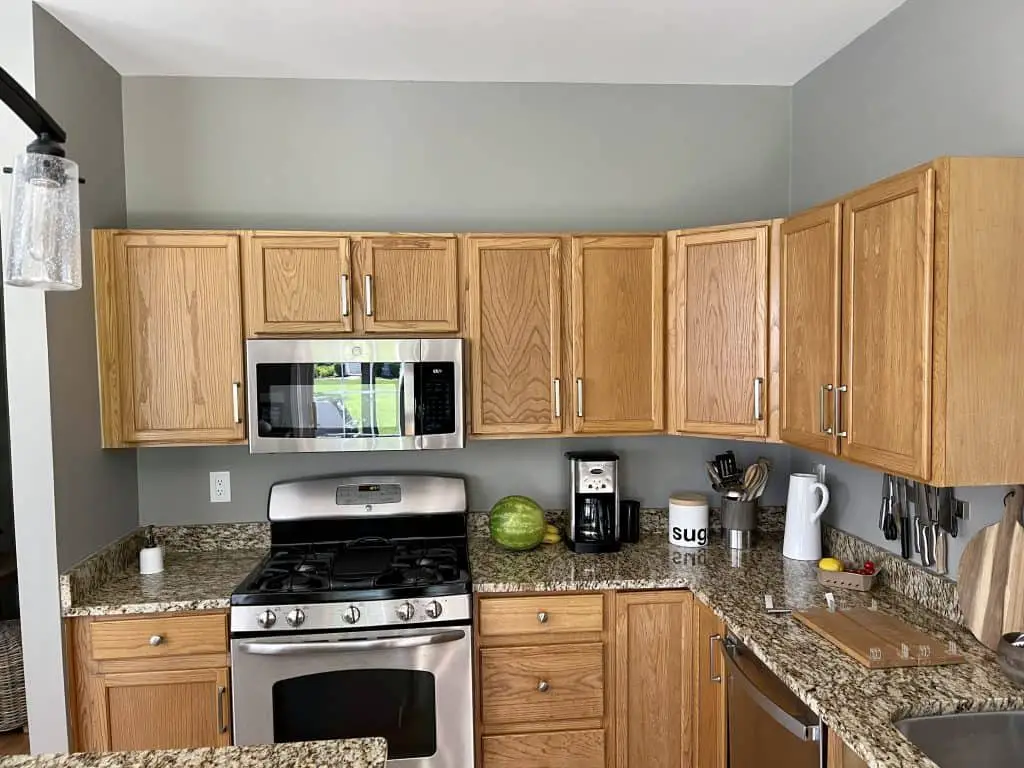
How to paint kitchen cabinets that are stained
Supplies needed to paint kitchen cabinets:
You may have a lot of the items needed for your kitchen cabinet project on hand already, or at least a reasonable alternative. These tools will help provide a professional look when you paint kitchen cabinets. You can do it without some of them, but having all of these items in your arsenal will help make the job a lot easier and less stressful.
This may seem overwhelming if you are just learning how to paint kitchen cabinets that are stained, but despite having a lot of steps, it’s really no overly complicated.
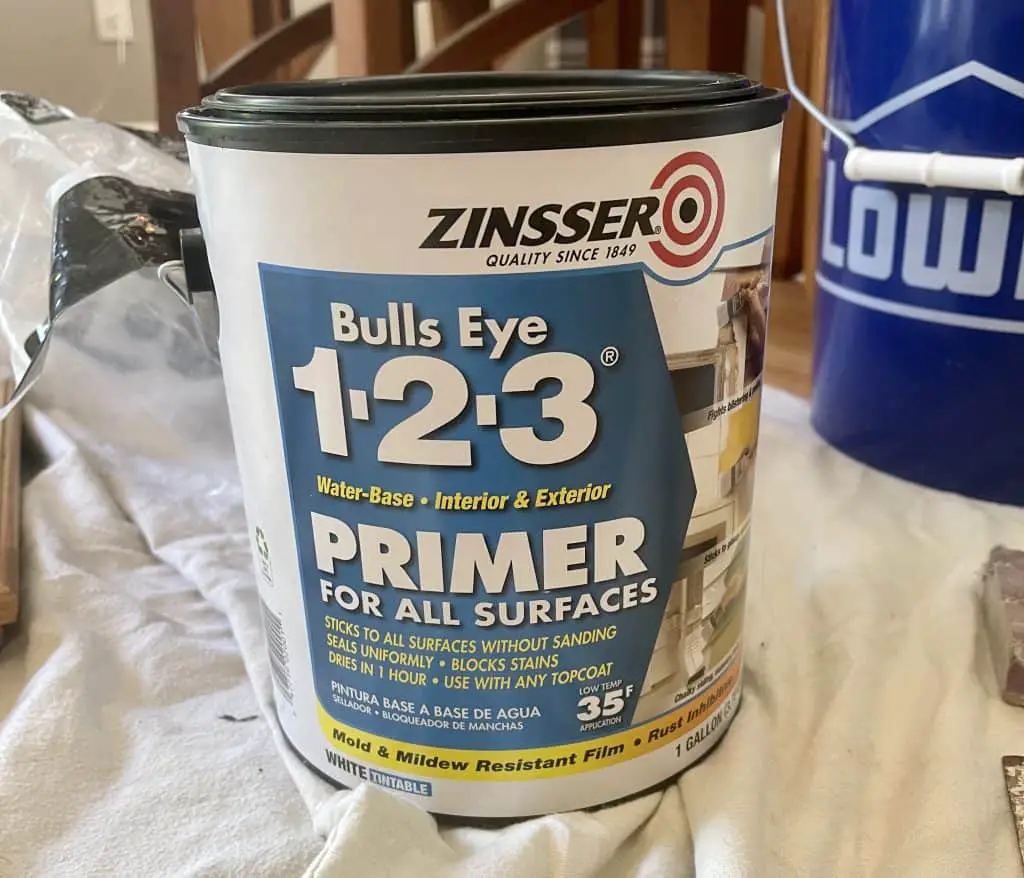
- Primer: Zinsser Bulls Eye 1-2-3 Primer (Don’t skip the primer, it will provide a better paint job for your cabinets. Also, if you are using color for your cabinets – not white – you may want to tint the primer depending on what finish color you choose.)
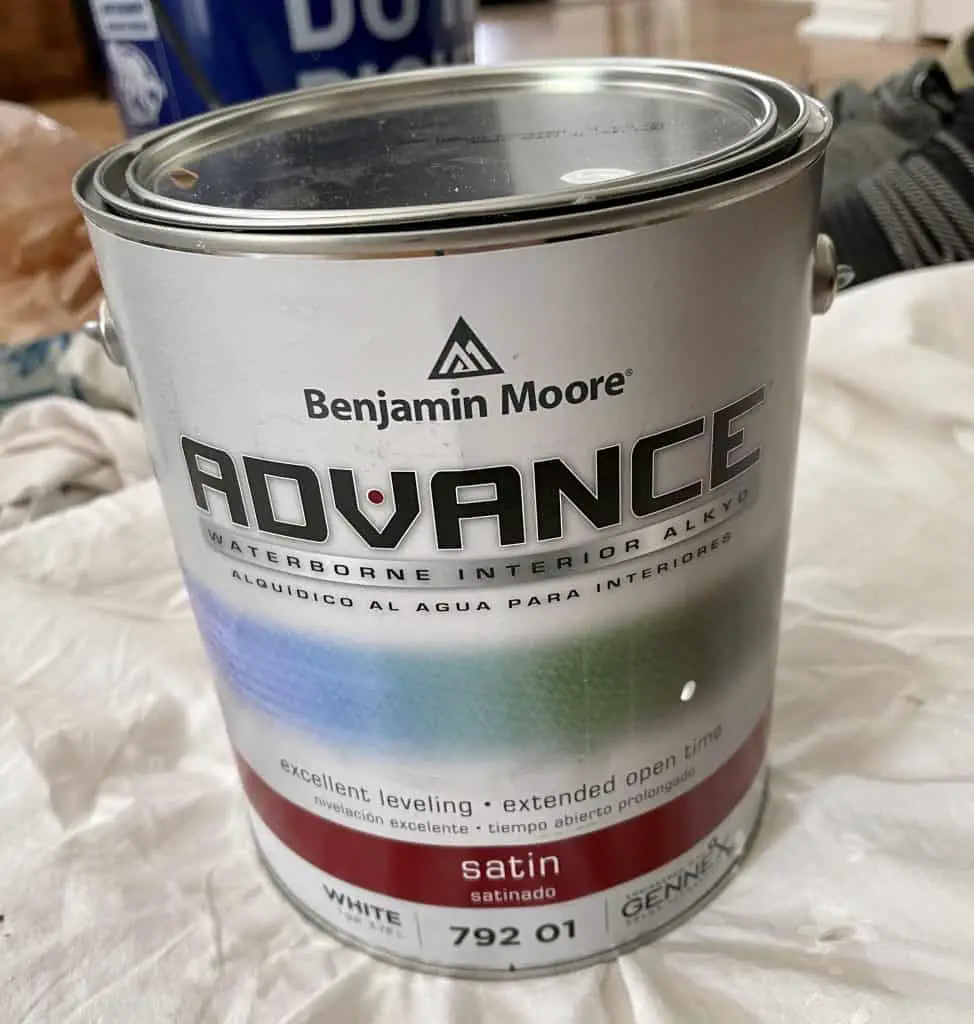
- Paint: Benjamin Moore Advance Satin Finish (Note: satin isn’t overly forgiving when you paint, so you definitely want to apply it with a spray gun so you aren’t left with brush strokes. Satin is what we used, but you aren’t limited to it, you can choose semi-gloss, matte, or even high gloss depending on the look you want to achieve when you paint kitchen cabinets.) This is a water-based paint, not an oil-based paint so it is low VOC. It is also not a latex paint, it is a water-based alkyd paint which is more durable and the best paint option for this application. You can also use your favorite brand of paint such as Sherwin Williams or Behr, but make sure to discuss how you plan to use the paint with the paint store in order to ensure you get the right type of paint for your application.
- 1 1⁄2 inch paint brush
- Paint Bucket
- Paint Tray
- 4-inch roller: (3) Whizz Premium Foam roller for Doors & Cabinets
- Roller
- Mineral Spirits: non-odor if possible
- Orbital Sander
- Orbital Sanding Discs: (pack of at least 10) 220 grit
- Sanding Block: (3) 220 grit
- Dust mask (ideally one rated for dust and solvents because of the mineral spirits)
- Safety glasses
- Power Drill w/appropriate tip (Phillips or flat head depends on your cabinet door hinges)
- Extension cord
- Plastic milk crate (2 if possible)
- Old Flat bed sheets (2 or 3)
- 2×4 Boards (6-10 depending on how many cabinet doors you have)
- Three saw horses
- T-shirt rags (6)
- Measuring tape
- Painters Tape – FrogTape: (Multipurpose Orange Color)
- 5 in-1 Painter’s Tool
- Wood Caulk if replacing hardware with different-sized hardware
- Wood filler if necessary for any dings or dents
- Paint Sprayer
- Plastic Drop Cloths
- Bucket for hinges and cabinet hardware
- Tack cloth
- Face Mask
- Wood Stick
- Ladder or step stool
Important tips to help you get started learning how to paint kitchen cabinets that are stained
I know you are anxious to get started learning how to paint kitchen cabinets that are stained but make sure you read the tips below before diving in. It might save you a ton of time and frustration later.
- Cleaning and prep work is the most important when you paint kitchen cabinets. Perfect prep will help your painted cabinets look their best and last longer.
- Be sure to remove all debris and grease with mineral spirits on cabinet bases, doors, drawers, floorboards, and trim before sanding and priming. Even if you can’t see it, there are likely years of build-up.
- Measure your cabinets before you remove them to be sure you know where each one goes. Knowing where each cabinet goes will save you time and headaches when you go to reinstall. If you can create a labeling system, take the time to do so as you will be thankful later. For this kitchen, we are using two different colors of paint. White for the kitchen cabinets and White Dove for the island. We marked all the cabinets with painter’s tape that will be for the island when removing the cabinet doors and drawers. We then made sure they had their own home when painting to keep them separate from the others to ensure they were painted the correct paint color.
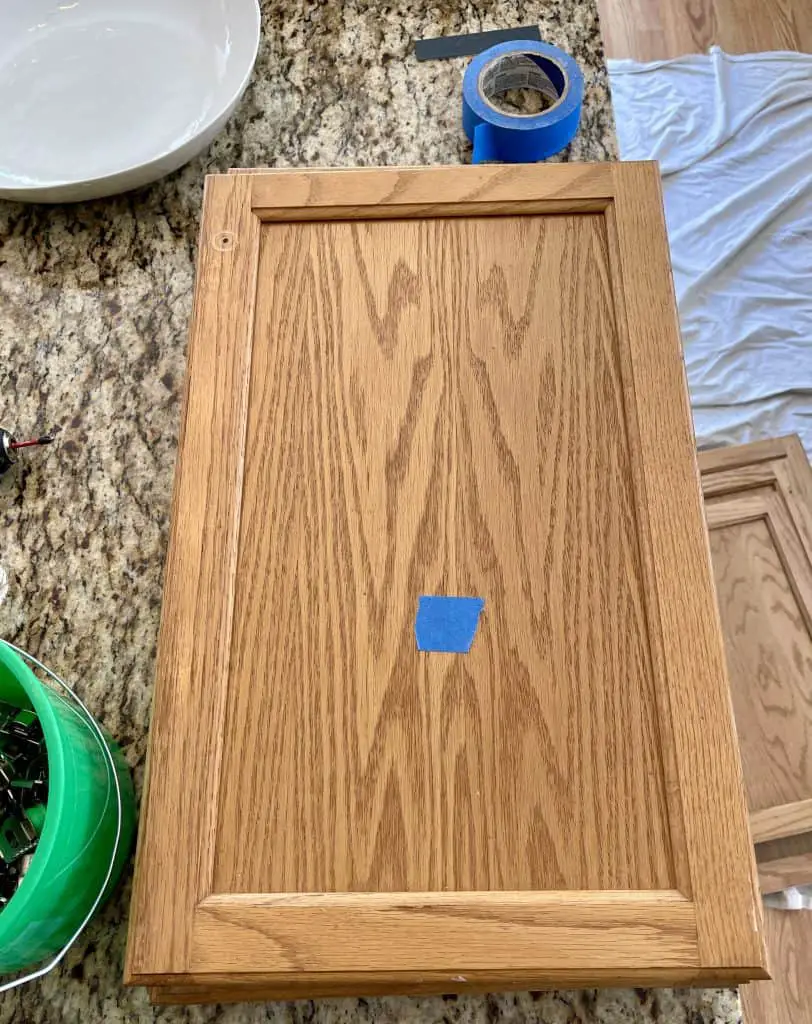
- When sanding before primer make sure you use a lot of elbow grease. Having a smooth finish will ensure your paint lays as smooth as possible. Any cabinets that may have chipped corners this is your time to smooth those areas out. Be sure to remove any stickers or cabinet protectors. If there are any cracks, dents, or old hardware holes fill them with wood caulk before priming
- Always follow the paint manufacturer’s directions for dry time. Remember if it is humid or cold your paint will take longer to dry. This project will take you 5-7 full days depending on how large your kitchen is.
- The full cure time is 30 days. Do not clean your cabinets with anything for 30 days. Do not apply cabinet protectors for 30 days. And do not drill holes for new hardware for 30 days. Your paint needs to fully harden and cure for best results. The best way to ruin your new paint job is by not following these important timelines.
How to paint kitchen cabinets that are stained step-by-step
Step 1: Setup Your WorkSpace
- You will need to turn your garage, workshop, or other indoor area into a place where you can safely spray your cabinets as well as lay your cabinets on flat surfaces as they dry. Be sure to pick an area that is not high traffic as they will be in that space while wet and for several days. You will also want good ventilation.
- Sweep or blow out the area you have chosen for your spray and drying area. Ensuring that there is no dust and debris is crucial. The cleaner the area the less chance dust will end up on your painted cabinets.
- Once you have selected your painting station and you have cleaned the area you will need to protect the walls and floor. We suggest taping plastic drop cloths to the wall as well as the floor. You can use painter’s tape or duct tape whichever you have on hand. Be sure that you make this area large enough to protect from overspray.
- Place a milk crate in the center of your spraying area. This is where you will place the door when spraying. If you have more than one crate this will be helpful as when your cabinets start to get skinnier and not fully covered the crate paint will get on the crate which if not placed properly will also get unwanted paint on your cabinets. Switching between crates will ensure you are placing your cabinet on a clean crate or a crate with dry paint only.
- Now it’s time to set up your saw horses and 2×4’s. This will be the area where your cabinet doors can lay flat while drying. Place the saw horses to support the 2×4’s. One sawhorse on each end and then one in the middle for support. Place the 2x4s to the appropriate width of your cabinets as well as the appropriate length to be stable on the saw horses. We suggest laying all cabinet doors out first where they will dry before you start painting. Every door and drawer should have a designated drying space. If doing multiple colors it is important to keep those cabinets in one drying area, so you know they are to be painted that specific color.
- Use your old flat bed sheets as a drop cloth to cover the floors in your kitchen as well as any appliances. This will protect from paint drips. If you accidentally drip paint on the floor or appliances it’s ok as long as you remove it right away with water or mineral spirits as needed. You can move the sheets easily with you as you paint.
- Use FrogTape Painters Tape (the orange one for multi-surface – this is the best tape we have found, it’s a little bit more expensive but totally worth it) tape off any sections you do not want painted. Insides of cabinets, ceiling, walls, floors, and appliances (fridge, stove, microwave).
Step 2: Remove the Doors and Drawers
- Measure all cabinet doors and drawers to ensure where each door will have to go back to. Sometimes cabinets are all different sizes and sometimes they are only slightly different. We recommend drawing a diagram with measurements to be sure you know where they will go when you’re ready to hang them back up.
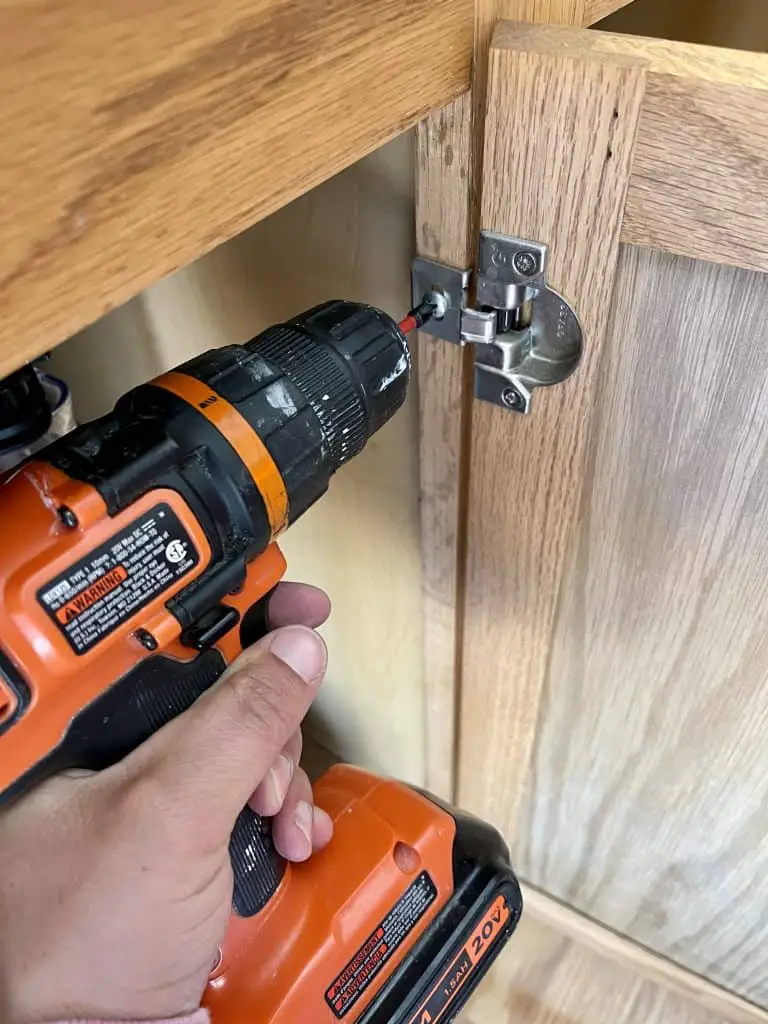
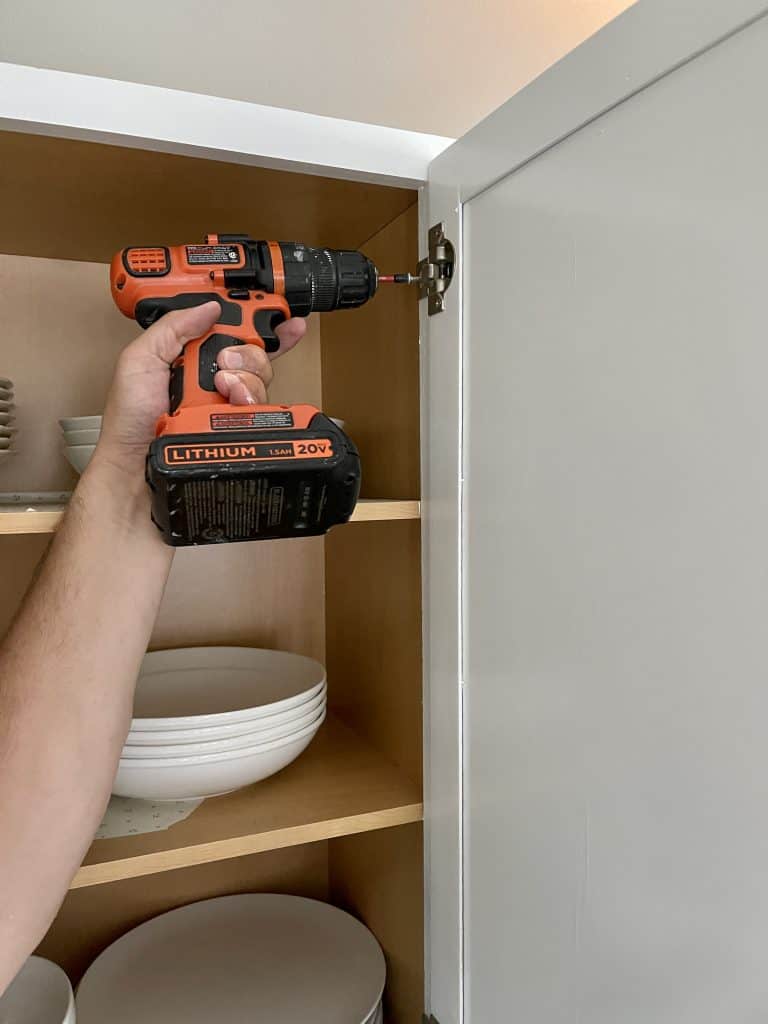
- Using your power drill and appropriate tip for your cabinet hinges carefully remove the doors from the cabinet bases. Study how you are removing the hinges and also how they are connected to the base of your cabinet. Be sure to study each hinge for each cabinet as some cabinets may have different hinges depending on the size and location of the cabinet. If hinges are different be sure you note that on your diagram with the cabinet measurements. Be sure to remove the hinge completely from the cabinet base as well as from the cabinet. Place the hinge and any supporting screws in your bucket and keep safe. You can also remove any hardware (knobs or pulls) at this time.
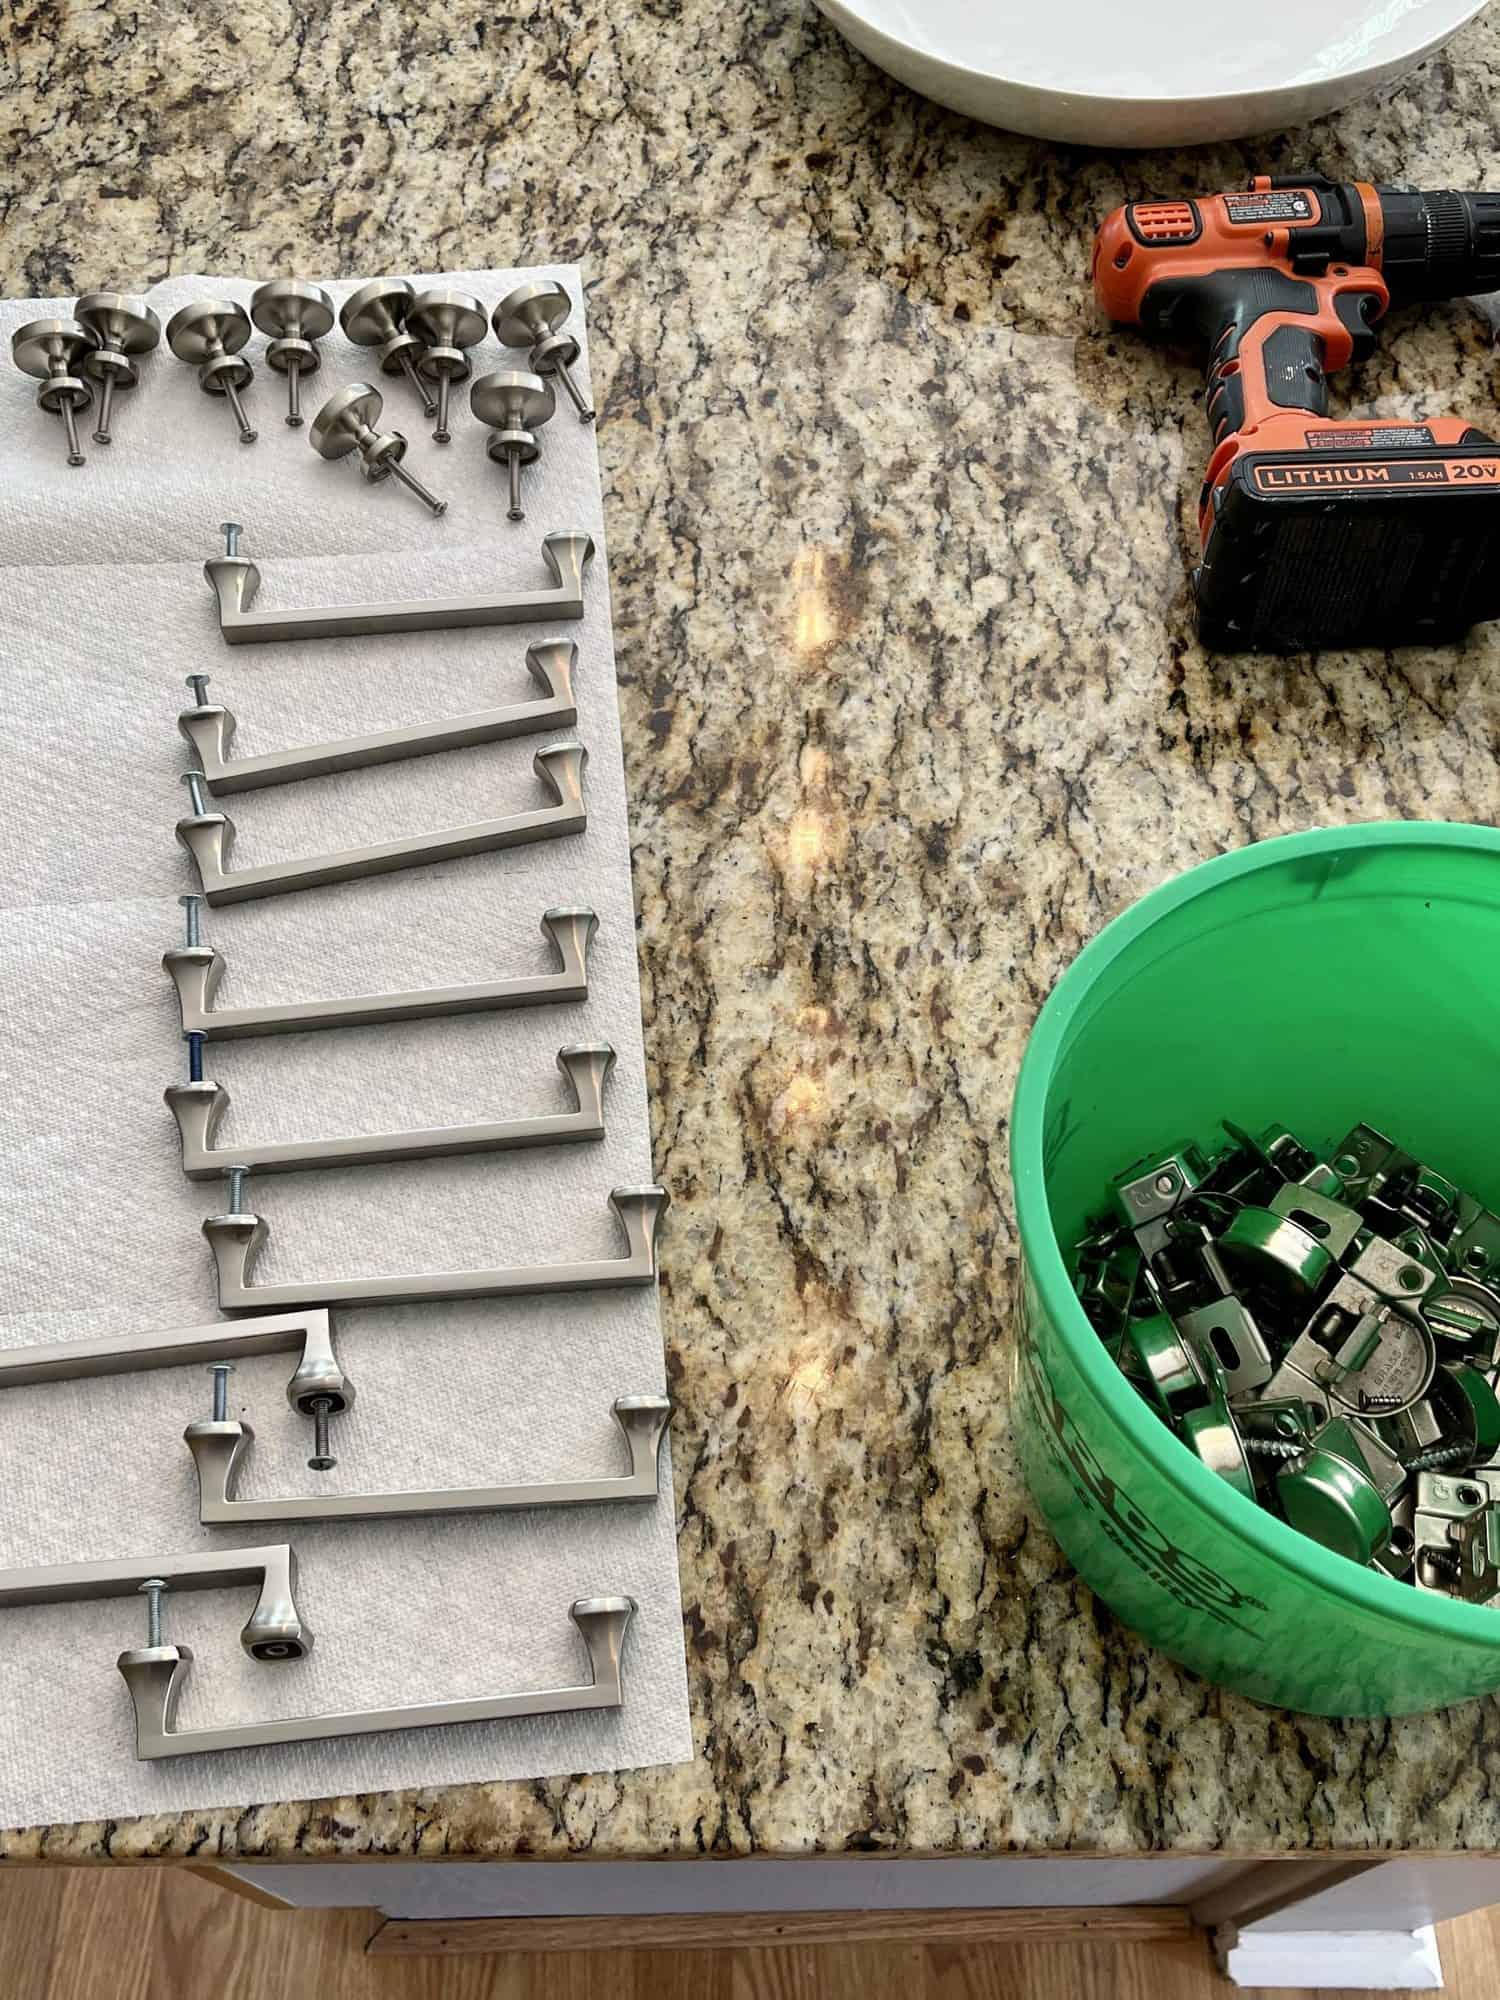
- Hot tip: if you are using the same hardware, place the hardware right inside the cabinet you’re removing it from. Push them back and out of the way. Much easier to have it right there to put back on when you’re rehanging your painted cabinet doors.
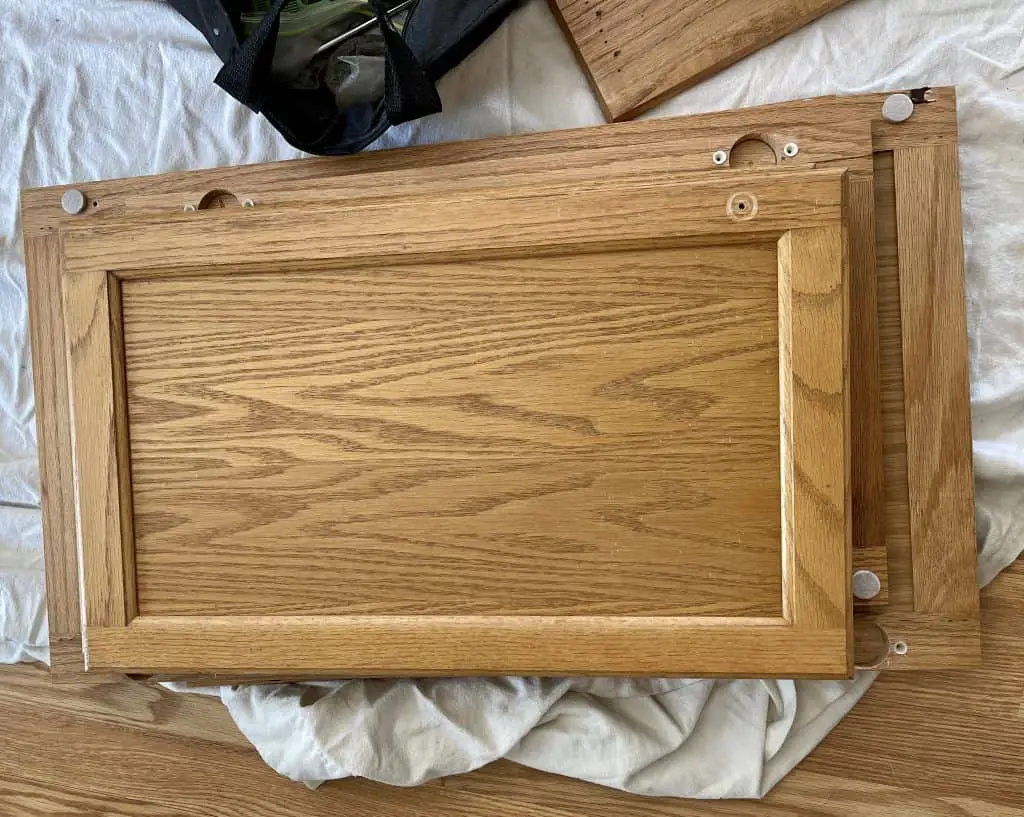
- Remove all drawers. Some drawer faces easily unscrew from the drawer itself. If not just pull the drawer completely out. Also, remove the hardware and place the hardware back in the drawer it belongs to.
- Now all your drawers and doors should be hinge and hardware free and ready to be relocated to your work space. Carry them out of the kitchen to the location you set up to be your designated spraying area.
Step 3: Cleaning and Sanding Prep of Cabinet Bases
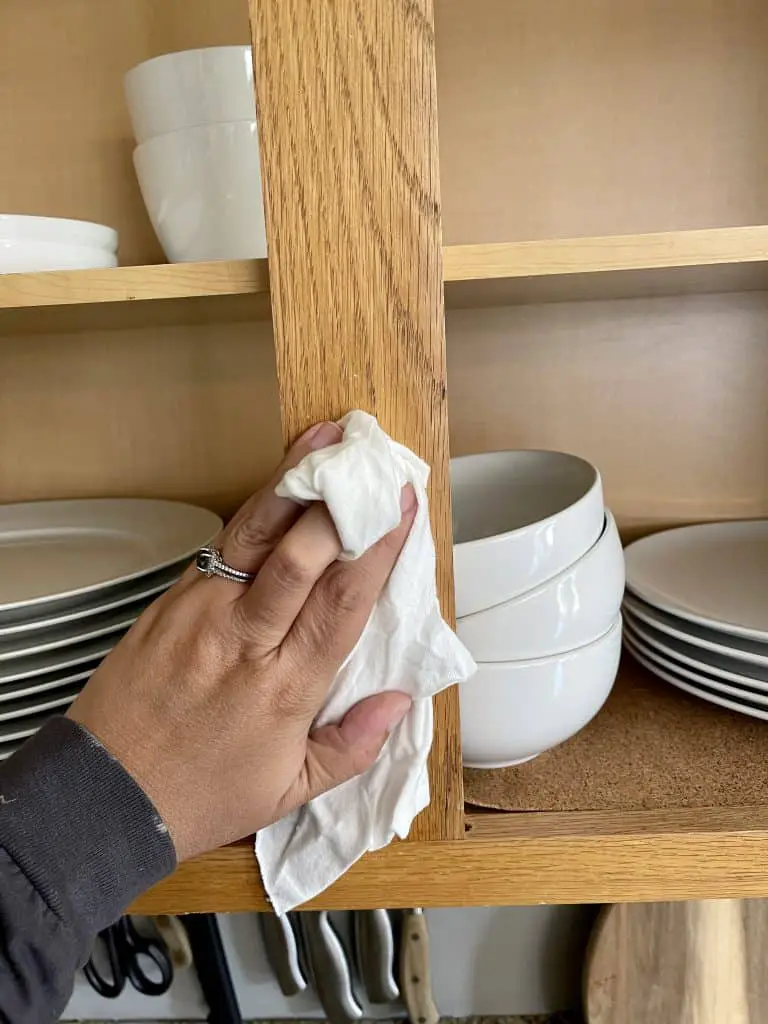
- Put on a face mask, grab Mineral Spirits (preferably odor-free for indoors), and a t-shirt rag, and clean all the cabinet bases, floorboards, and trim. Be sure to remove any grease, food, or debris. If there is anything stubborn to get off like a sticker or old glue use your 5 in 1 tool to scrape it off. Mineral spirits will help to break down any unwanted residue. If the mineral spirits aren’t working, you may need to resort to chemical strippers to get the job done. But since you are really only removing residue, not paint, the mineral spirits should be enough. Always best to clean all surfaces once with elbow grease and then go back and do it again a second time just to be sure you didn’t miss anything. Remember anywhere you are painting will need to be thoroughly cleaned. If you can open windows during this step to help air out the mineral spirits it is advised.
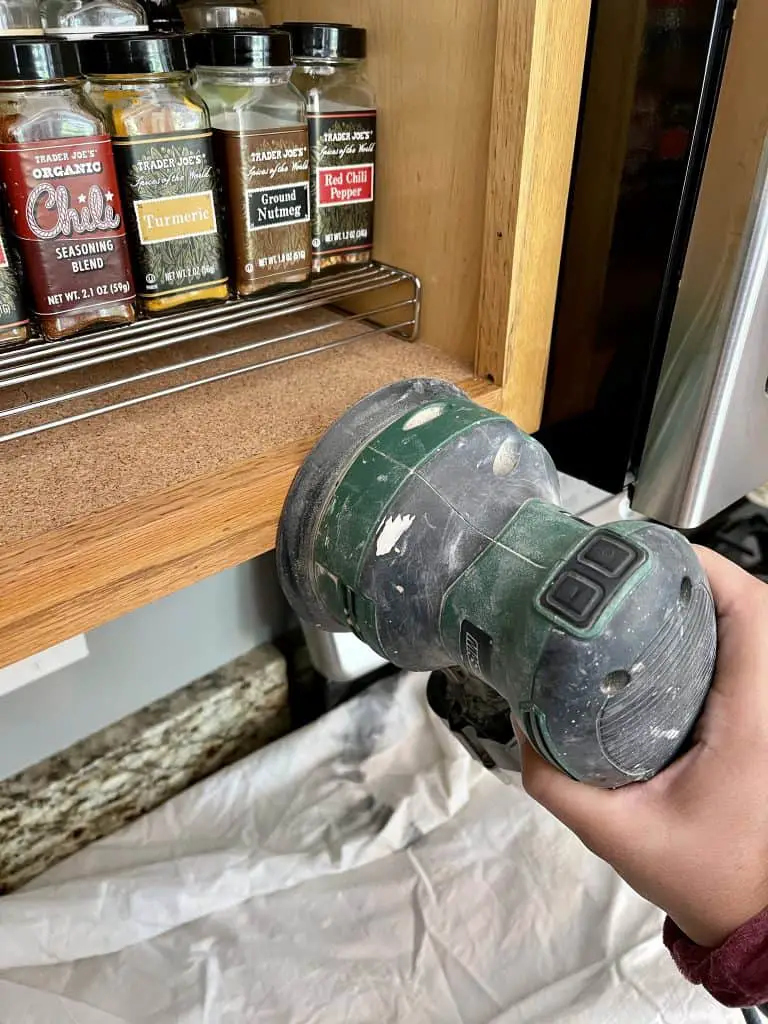
- Once everything is cleaned it’s time to sand your cabinet bases, floorboards, and trim. The orbital sander is the easiest way to ensure a smooth finish. Make sure you wear a dust mask and safety glasses when sanding. For those hard-to-reach areas, a sanding block would be ideal (floor boards and trim). We recommend using 220-grit paper for the orbital and the blocks. When using the orbital do not go above the number 4 setting. Slow and steady wins the race. Be sure to sand everything to a very smooth finish. Run your hand over the area after you sanded down to be sure you didn’t miss anything. Anywhere you are painting needs to be sanded. Take your time on this step as it is one of the most important steps to a smooth finish.
- Using a t-shirt rag remove any dust or debris you left behind from sanding. Wipe all cabinet bases inside and out of cabinets, and countertops, and also sweep the floors. Having a clean area to paint in will ensure you have no unwanted debris in your wet paint.
Step 4: Cleaning and Sanding Prep of Cabinet Doors and Drawers
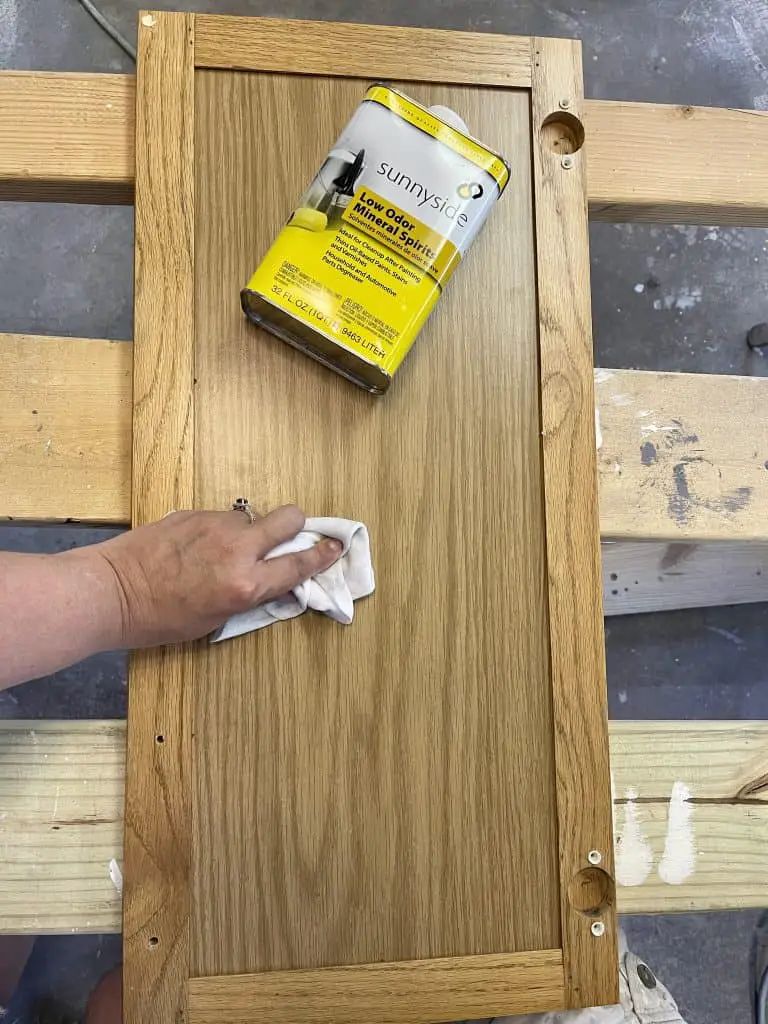
- In your workspace, it’s now time to clean your doors and drawer fronts. Put on your mask, grab your mineral spirits, and a t-shirt rag. Clean the cabinets doors and drawers just like you cleaned the cabinet bases in your kitchen. Be sure to clean both sides of the doors as you will be painting multiple coats on each side. Also, be sure to clean the cracks and crevices. Don’t forget to use elbow grease and be sure to remove all stickers, grease, food, cabinet protectors, and debris.
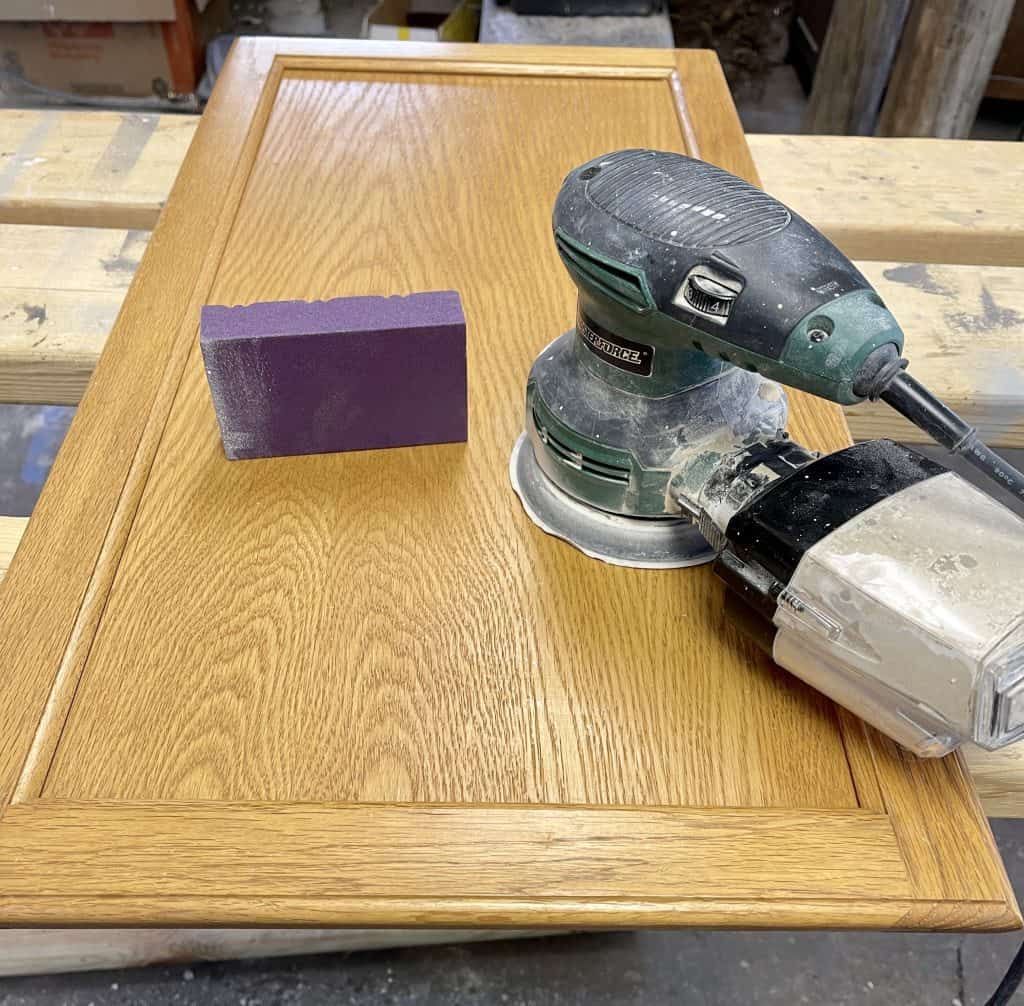
- Time to sand (don’t forget your safety gear). Using the orbital sander and 220 grit sandpaper sand each door, front and back. Be sure to sand the edges of the doors as well. Sand the doors smooth. Use elbow grease and take your time. Remember the better prepared your cabinets are the better the finished result will be. For any hard-to-reach areas, you can use your 220 sanding block.
- Now use your t-shirt rag to wipe your cabinet doors and drawers. Be sure there is no dust or debris left over from sanding. It is also ideal to sweep out the area or blow out the area with a blower. Remember a clean work space makes for a flawless finish.
- And then place your cabinet doors and drawers where they will be able to dry once sprayed. Each cabinet should have a home where it carefully goes back to dry on the 2x4s or an area where they will not be disturbed. If you do not have enough space for cabinet drawers and you were not able to remove the face of the drawer you can stack them.
Step 5: Prime Time
- Before you paint kitchen cabinets you need to prime them. Grab your Zinsser Bulls Eye 1-2-3 Primer for all surfaces. We chose white because our final colors are white. Be sure to mix the primer thoroughly with a wood stick. Pour primer into the paint tray as well as the hand-held paint bucket. Grab your roller (Whizz premium foam 4-inch rollers for cabinets and doors) and paintbrush. It’s time to prime!
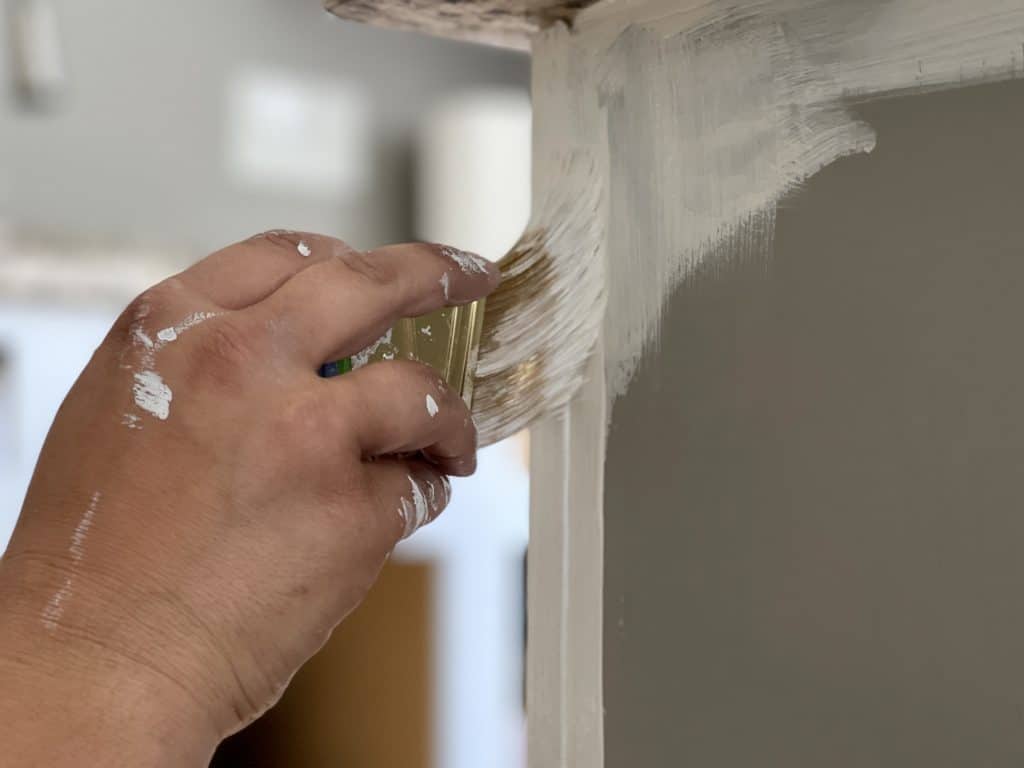
- Use your brush to cut in along walls, appliances, trim, ceiling, floorboards, and trim. Be sure to have a steady hand in these hard-to-reach areas. Use the tip of your brush to cut in and your 5 in 1 tool if necessary. All flat areas such as the fronts of cabinet bases should be rolled with roller. Smooth and long strokes. Make sure your roller and brush have adequate paint before applying. Even application is key. Be sure the entire surface is covered evenly. Do not overdo it.
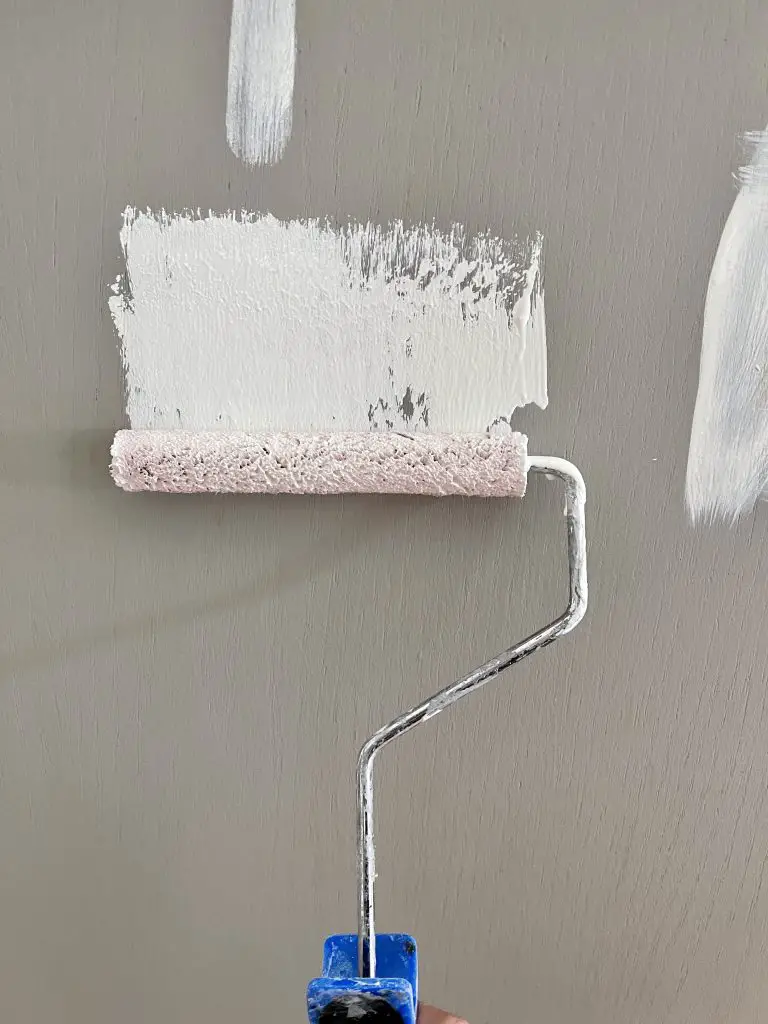
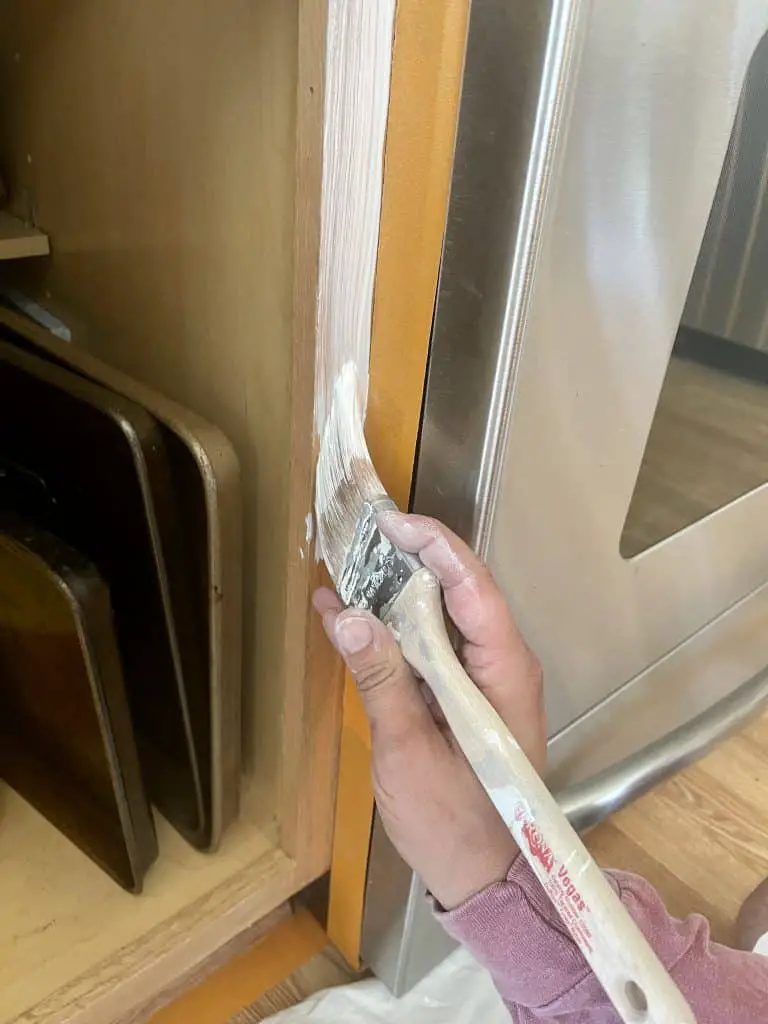
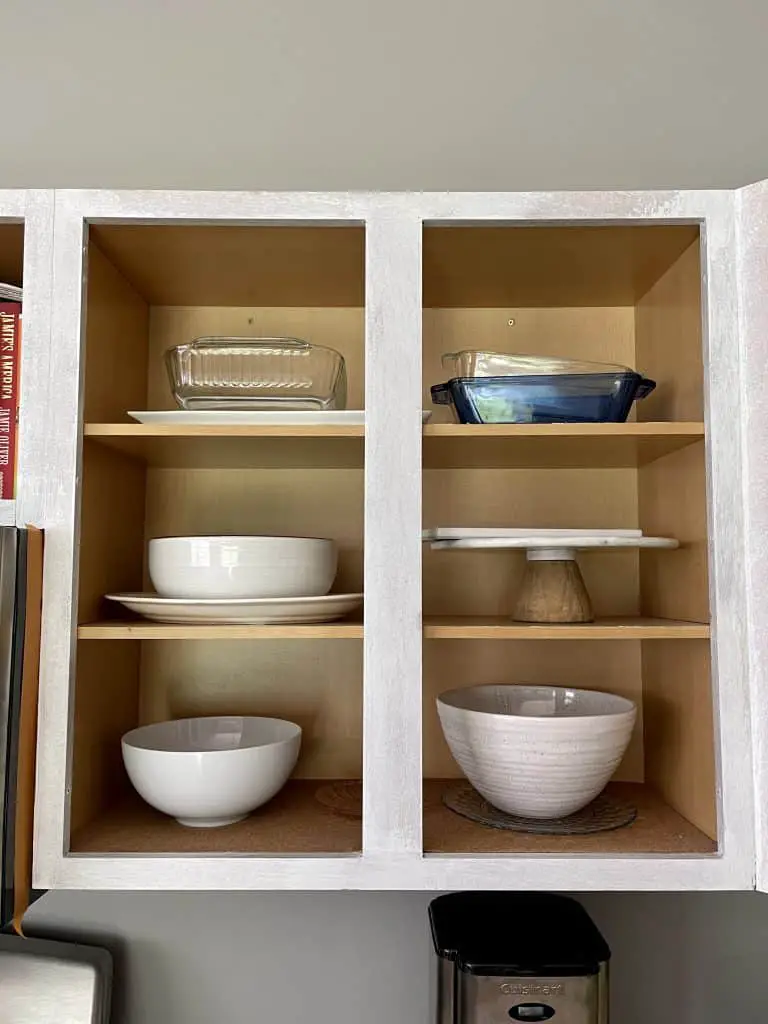
- Be sure to inspect each area for paint drips before moving to the next area. Don’t forget to paint the inside cabinet trim as well. Sometimes this will lay flat to the inside of the cabinet and sometimes there will be a slight lip. If there is a lip you can easily use your roller without getting paint inside your cabinet. If there is no lip you have to cut this in with a brush. Make sure you have painter’s tape on the inside of the cabinet to ensure a clean line. We suggest that you start painting your upper bases first and then move to your lower. This will ensure your ladder or body does not brush up against your freshly primed bases.
- Let your primed kitchen fully dry according to the manufacturer’s directions. This can take up to 4-6 hours.
- Move to your workspace and prime the backs of your doors. Using your spray gun fill your spray gun according to the instructions with primer. It’s ideal to have a large bucket to be able to spray into to ensure your sprayer is spraying evenly and has the appropriate suction. We use the Graco TrueCoat 360 Spray Gun but there are lower priced options available.
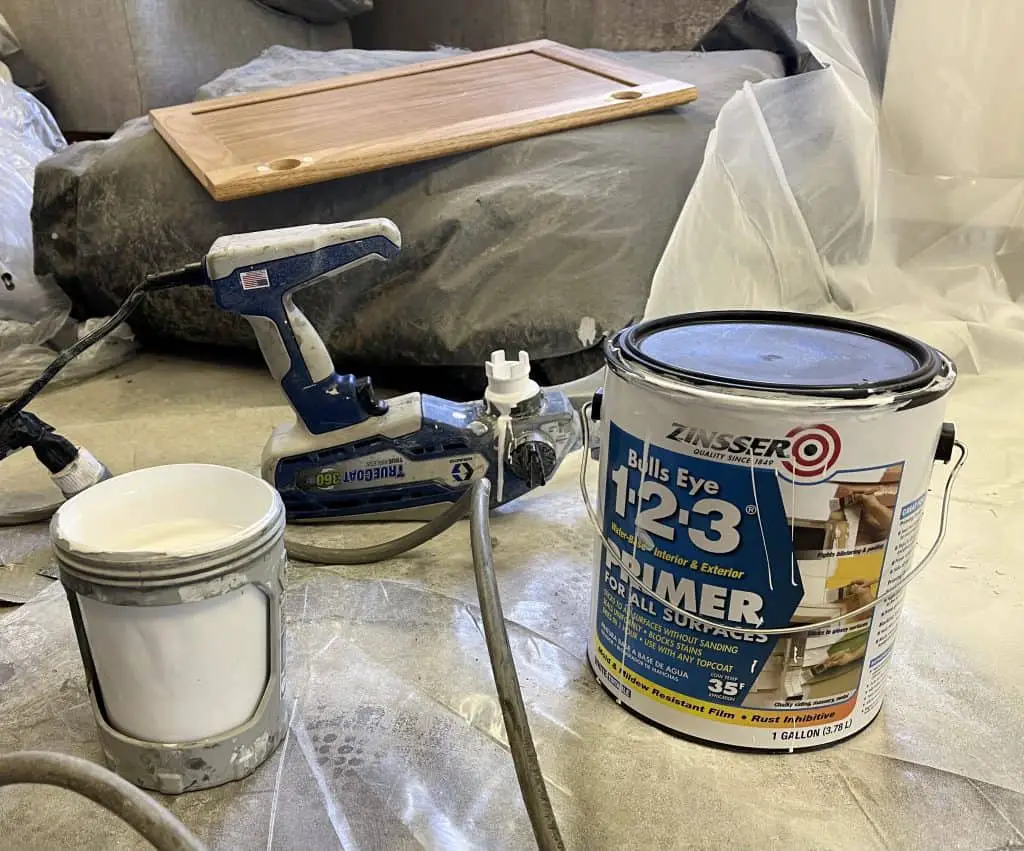
- Place one of your doors (start with the widest doors first) with the back facing you ready to be sprayed. When spraying your door you want to be about 18 inches above the door and have long, even, arm motion. Paint all four sides of the cabinet first from the top and then spray from top to bottom to cover the back of the cabinet. Try to only spray once on each section of the door. First horizontally on the top, then down the side, then horizontally across the bottom, then down the other side, then from top to bottom vertically to cover. As you get to skinnier doors be sure to place the door on the crate where it is not touching wet paint. Start to edge the door of the crate so you do not get wet paint on the front of the cabinet. Place a new crate if necessary.
- Once the back of the door is fully and evenly sprayed carefully, squat at your knees and pick up the door only placing your hands completely underneath the door and placing it back to its drying area. Be very careful when picking it up and when placing it down as you don’t want to disturb the wet paint.
- Continue above steps until all backs of cabinet doors are sprayed. If you were able to remove drawer faces go ahead and spray the backs of those as well, and set them aside to dry. If the drawer fronts do not come off, you can roll them with your roller. Be sure to get the edges of the drawer face and the entire front. It’s not necessary to paint the inside if they are attached to the drawer.
- Let fully dry. This can take up to 4-6 hours. You can place your paint tray, rollers, and brush in an airtight bag if you will be priming the front of the doors and drawers on the same day or the next day. If you are going to let dry overnight be sure to clean out your spray gun to manufacture directions. Clogged tips and broken spray guns are not fun!
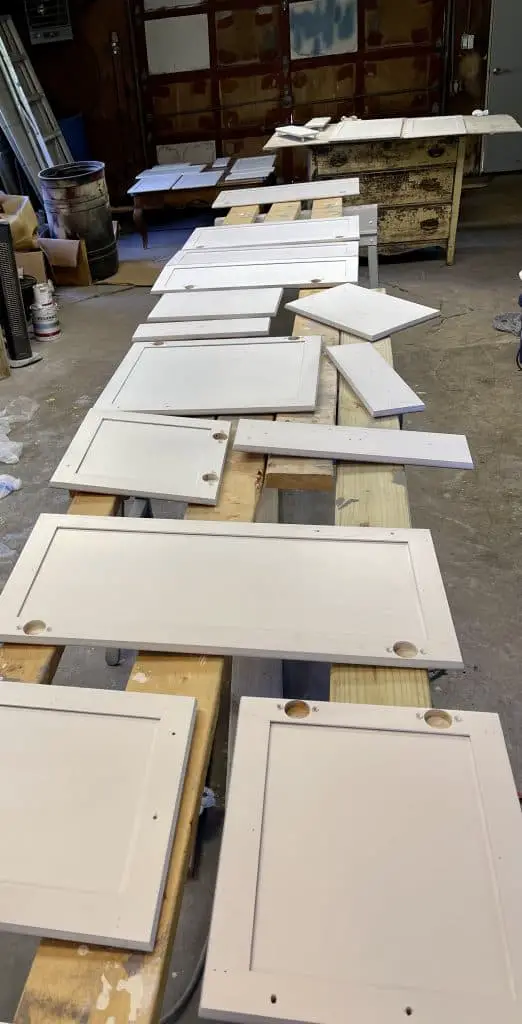
- Time to prime the front of the doors. Once they are fully dry and not sticky to the touch repeat the priming directions above on all fronts of the doors. Be sure to start with the widest doors first and adjust the doors on the crate as they start to get skinnier and smaller. If you removed the drawer faces also spray the front of the doors. Use the new crate if need be. Again be sure to carefully transport your freshly primed doors back to their designated drying area.
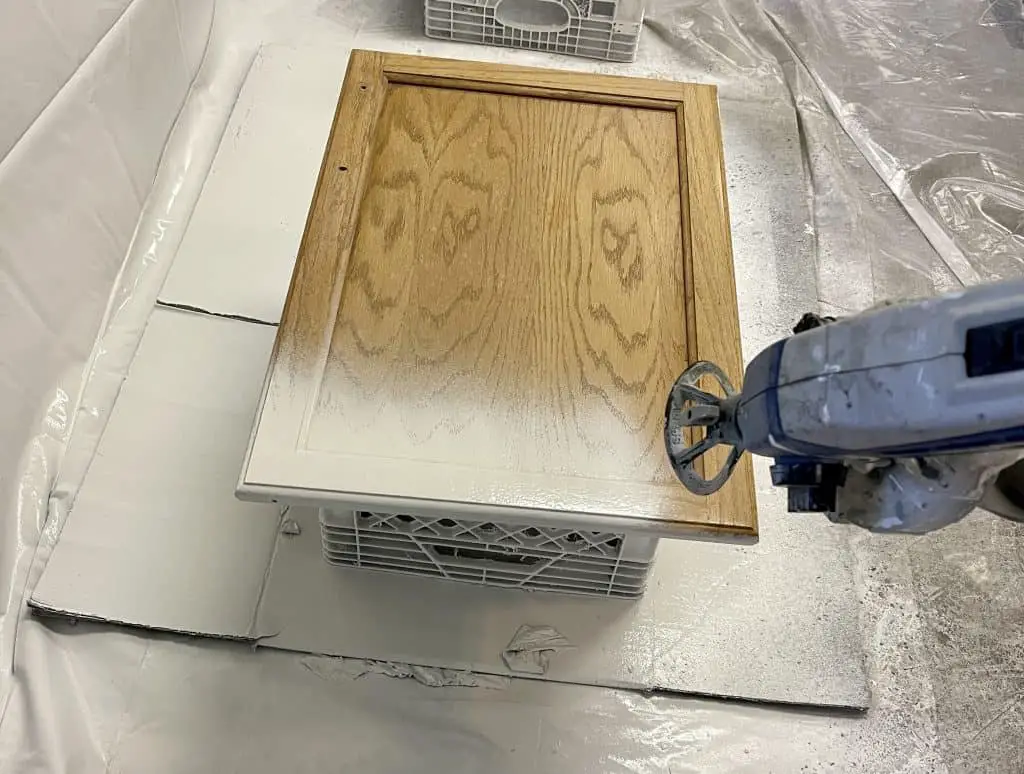
- Let fully dry according to the manufacturer’s instructions. Clean all paint brushes, trays, buckets, rollers, and spray gun. Rinse thoroughly with warm water or brush cleaner. You can reuse rollers if they are properly cleaned. Always clean the spray gun according to the manufacturer’s directions. We are done priming! Don’t be worried if primer looks streaky, it never lays as good as your paint will.
Step 6: Sand Primed Surface
- Using 220 grit sanding block lightly sand your cabinet bases, trim, and floor boards smooth. This is your time to sand any paint drips of uneven paint. Be sure to look for any debris or hair that might have gotten trapped. Lightly sand smooth. Anywhere you primed you should lightly sand. Feel the area with your hand to ensure it’s smooth.
- Repeat the step above in your work area on all doors and drawers. You can sand both sides of the doors and also the drawers. Do not use orbital as it will be too powerful.
- Using your t-shirt rag remove all dust and debris on cabinets, cabinet faces, trim, floorboards, and drawers that were left over from sanding. Be sure to also sweep out your kitchen as well as your workspace. Remember – a clean space is a happy space.
Step 7: First Coat of Paint to Cabinet Bodies
All of the other steps to paint kitchen cabinets lead up to this one – it’s time to paint!
- Grab your Benjamin Moore Advance Satin Paint. We chose Benjamin Moore Advanced White for the cabinets and Benjamin Moore White Dove for the Island. Benjamin Moore Advance can be a little pricey but we have found that it is the most durable and also has the best finish when painting kitchen cabinets.
- Mix the paint thoroughly with a wood stick.
- Pour paint into a clean paint tray as well as a hand-held paint bucket.
- Grab your roller (Whizz premium foam 4-inch rollers for cabinets and doors) and a paintbrush.
- Use your brush to cut in along walls, appliances, trim, ceiling, floorboards, and trim. Be sure to have a steady hand in these hard-to-reach areas. Use the tip of your brush to cut in and your 5 in 1 if necessary.
- All flat areas such as the fronts of cabinet bases should be rolled with roller. Smooth and long strokes. Make sure your roller and brush have adequate paint before applying. Even application is key.
- Be sure the entire surface is covered evenly. Do not overdo it. Be sure to inspect each area for paint drips before moving to the next area. Be sure to paint the inside cabinet trim as well. Sometimes this will lay flat to the inside of the cabinet and sometimes there will be a slight lip. If there is a lip you can easily use your roller without getting paint inside your cabinet. If there is no lip you have to cut this in with a brush.
- Make sure you have painter’s tape on the inside of the cabinet to ensure a clean line. We suggest painting your upper bases first and then moving to your lower cabinets. This will ensure your ladder or body does not brush up against your freshly painted bases.
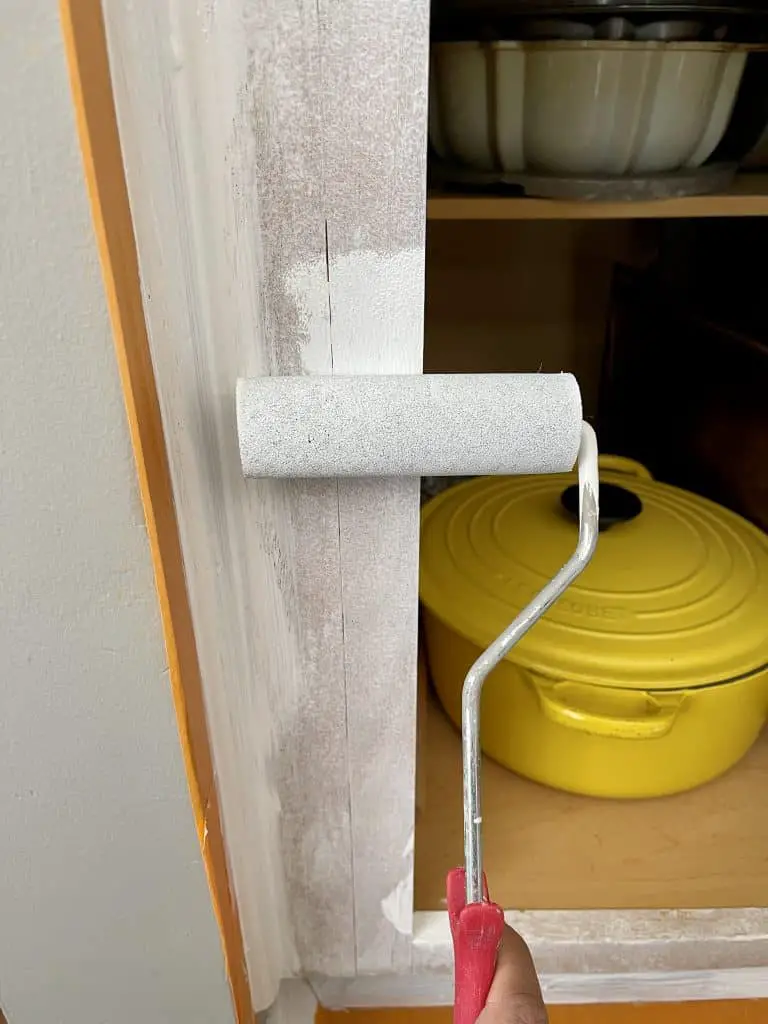
- Let your first coat of paint fully dry according to the manufacturer’s directions. This can take up to 24 hours. Best to let it fully dry overnight before applying a second coat.
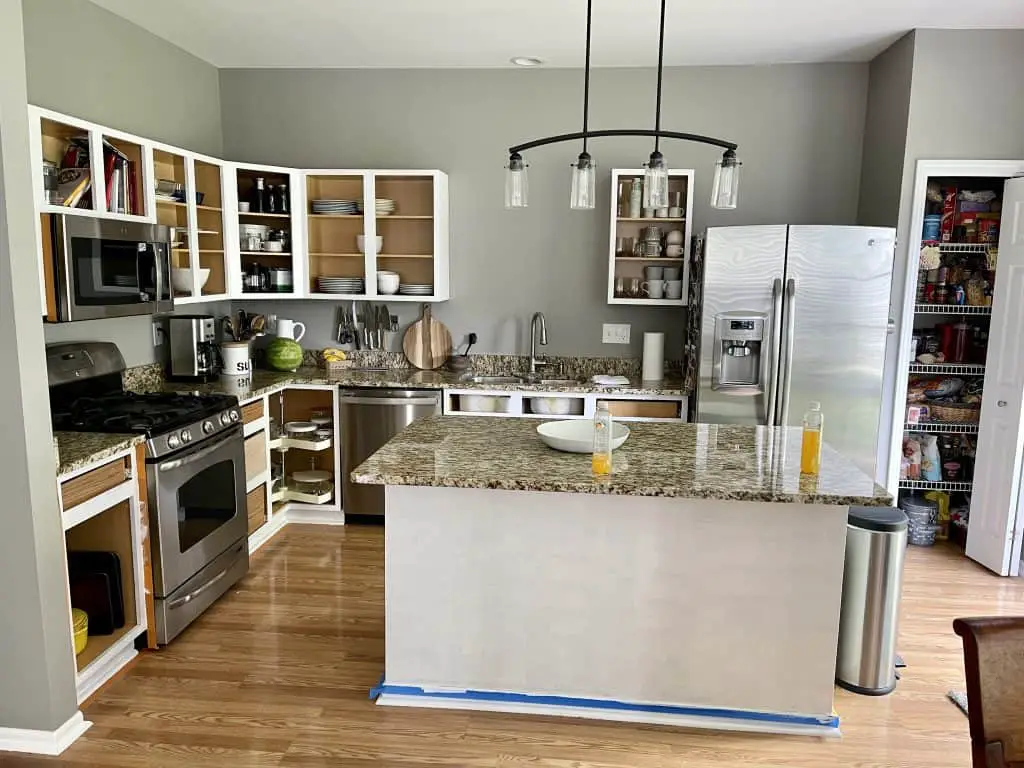
Step 8: First Coat of Paint to Doors and Drawers
- Time to spray the first coat of paint on the back of your doors and drawers. Be sure to apply the same steps as previously mentioned when priming. The only difference is you are using the Benjamin Moore Advanced instead of primer. Spray the same way as you did primer, be sure to start with the widest doors first, and adjust the doors and crate as needed when the doors start to get skinnier. Don’t forget the backs of your drawers. If you were not able to detach them from the drawer go ahead and roll them as previously directed with Benjamin Moore Advanced.
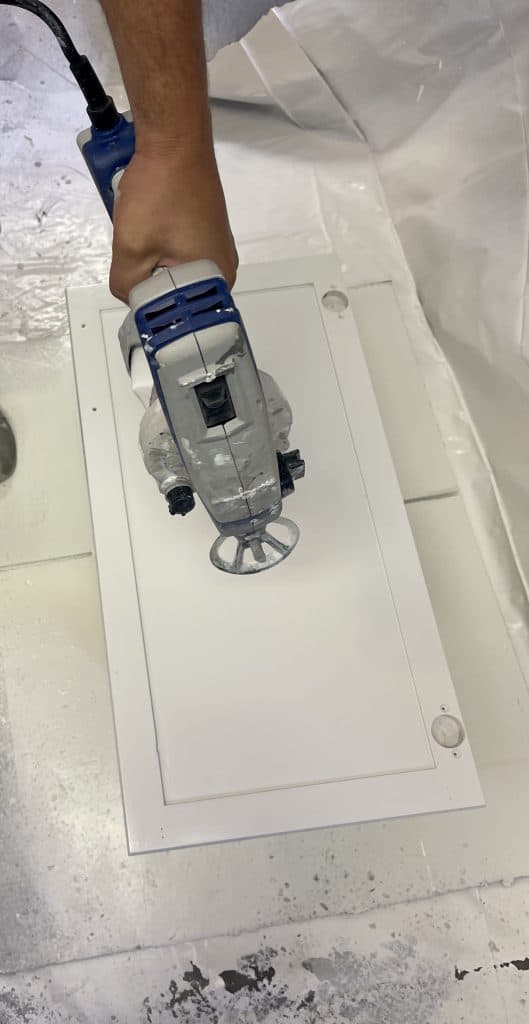
- Be very careful when transporting to the drying area. Be sure not to touch fresh paint and not to disturb it while drying. The full dry time is 24 hours. Best to let dry overnight before flipping to do the fronts.
- Place roller, paintbrush, paint tray, and paint can in an airtight bag. Clean out your spray gun to manufacture directions.
- Once doors are fully dry you can flip and spray the fronts of the doors and drawer fronts. Be sure to use the same steps as previously stated. Be very careful when placing the fully painted door back into its drying area. Do not drag the door or drawer across the 2×4 or drying area. The paint does not fully cure for 30 days so it is very soft. Handle with care.
Step 9: Sand First Coat of Cabinet Bodies
- Using your 220 sanding block, lightly sand any areas of paint build-up or drips only. This is your time to inspect for any debris or hair that might have gotten stuck in your paint. Lightly sand where is necessary.
- Using a t-shirt rag remove any leftover dust or debris from the surface. Also, sweep the kitchen floor to ensure a cleaning painting area.
Step 10: Second Coat of Paint to Cabinet Bodies
- Remove your paintbrush, tray, bucket, and rollers from the air-tight bag. Stir paint with a wood stick. Fill the tray and bucket with Benjamin Moore Advanced. Apply a second coat of paint to all cabinet bases, trim, and floorboards the same way you applied the first coat.
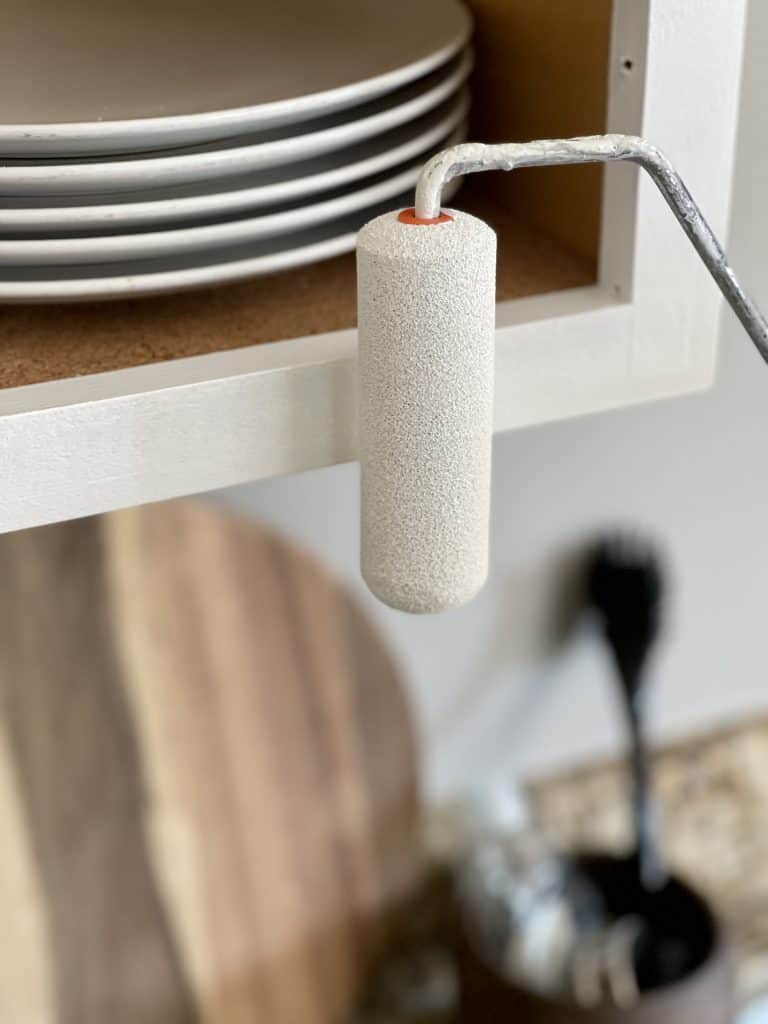
- Remember to move the sheets with you to protect your floors and appliances. Also, be sure to inspect for any paint drips before moving to the next section. Start on the upper cabinets and work your way down to the bottom.
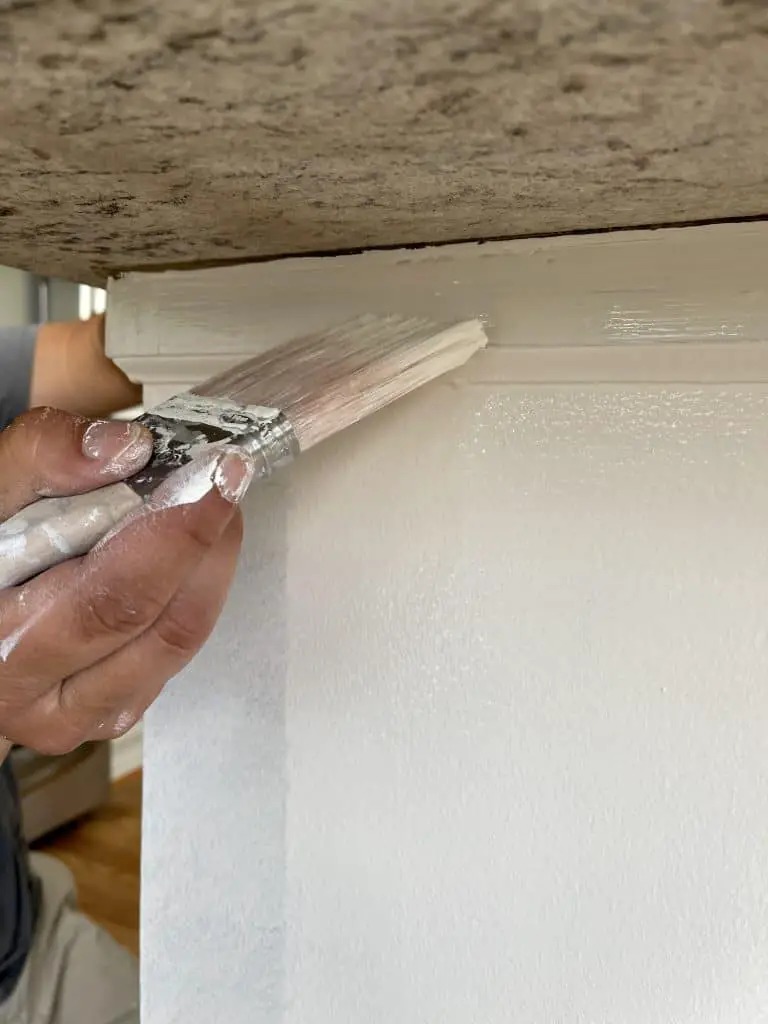
- Let fully dry for 24 hours. Depending on color you may only need two coats of paint. Place brush, roller, paint tray, and paint bucket back in an airtight bag. If only two coats are necessary you can go ahead and clean anything you will not need to use on your doors and drawers.
Step 11: Lightly Sand Doors and Drawers
- Once fully dry lightly sand any debris, drips, or hair as needed on both sides of the doors and drawers using 220 sanding block.
- Using a T-shirt rag remove any debris from the doors and drawers. Be sure to also carefully sweep out floors as necessary. You don’t want to move around a lot at first but you do want to ensure your area is as clean as possible especially your 2×4’s.
Step 12: Second Coat of Paint to Doors and Drawers
- Spray the back of doors and drawers first using the same steps you did when applying the first coat of paint. Be very careful when transporting the doors and drawers. Also, remember to start with the widest doors first. As you get to skinner doors and drawer fronts be sure to adjust the door on the crate as necessary and change out the crate as needed. You don’t want any wet paint on the front of your doors. Pay close attention. Spray evenly and take your time.
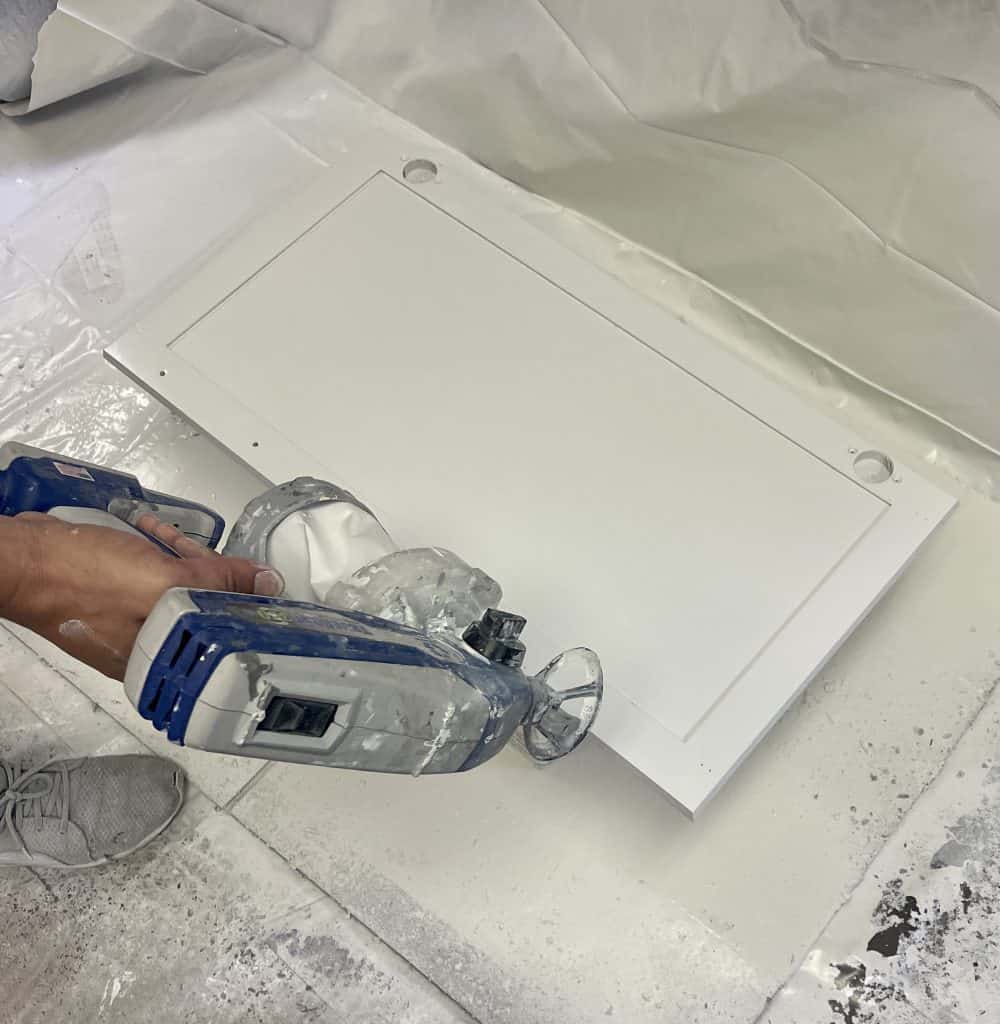
- Let dry for at least 24 hours.
- Clean spray gun according to manufacturer’s directions.
- Once fully dry time to spray the fronts of the doors and drawers. Same process as before. Take your time. The front of your doors and drawers is what you are mostly going to see in your newly refreshed kitchen. Be very careful when transporting to the drying area and change out the crate as needed.
- Let dry for 24-48 hours. If a third coat is necessary you can spray only the fronts of doors again and that can be done in 24 hours from the last coat that was applied. If doing two or more coats wait a full 48 hours before hanging the doors back up.
Step 13: Time to Hang Your Doors
- Grab your measurements and your hinges and get ready to hang! Your project is almost complete. Handle each door with care. The paint is still soft and needs a full 30 days to fully harden.
- Using your power drill, secure the hinge carefully to the door and then secure the door to the cabinet base. Be sure your cabinets are in the same spot they originally were in.
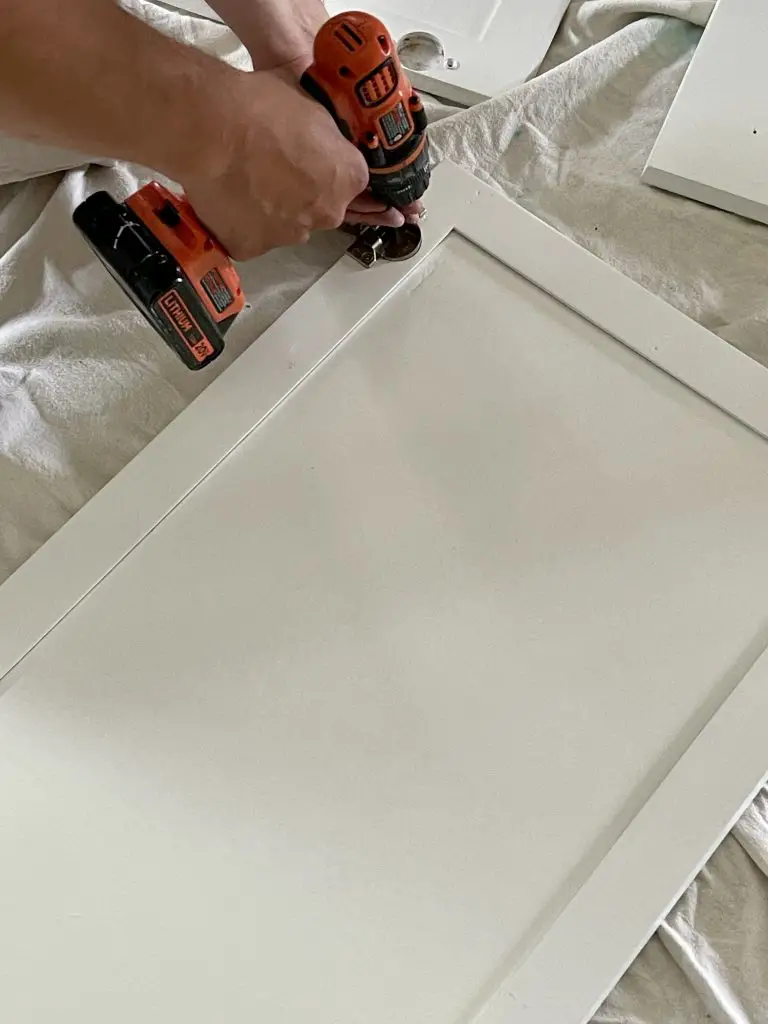
- Carefully reattach your hardware using your drill.
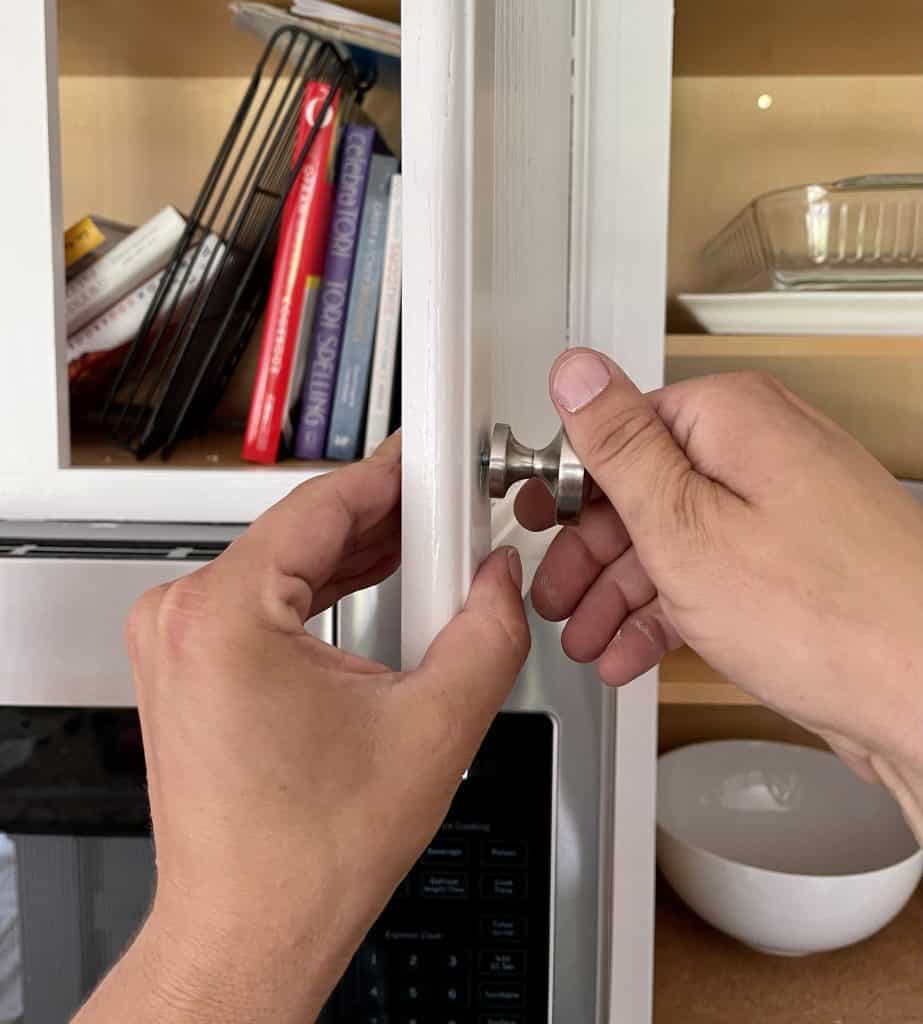
- Repeat the steps above until all your doors and drawers are reassembled.
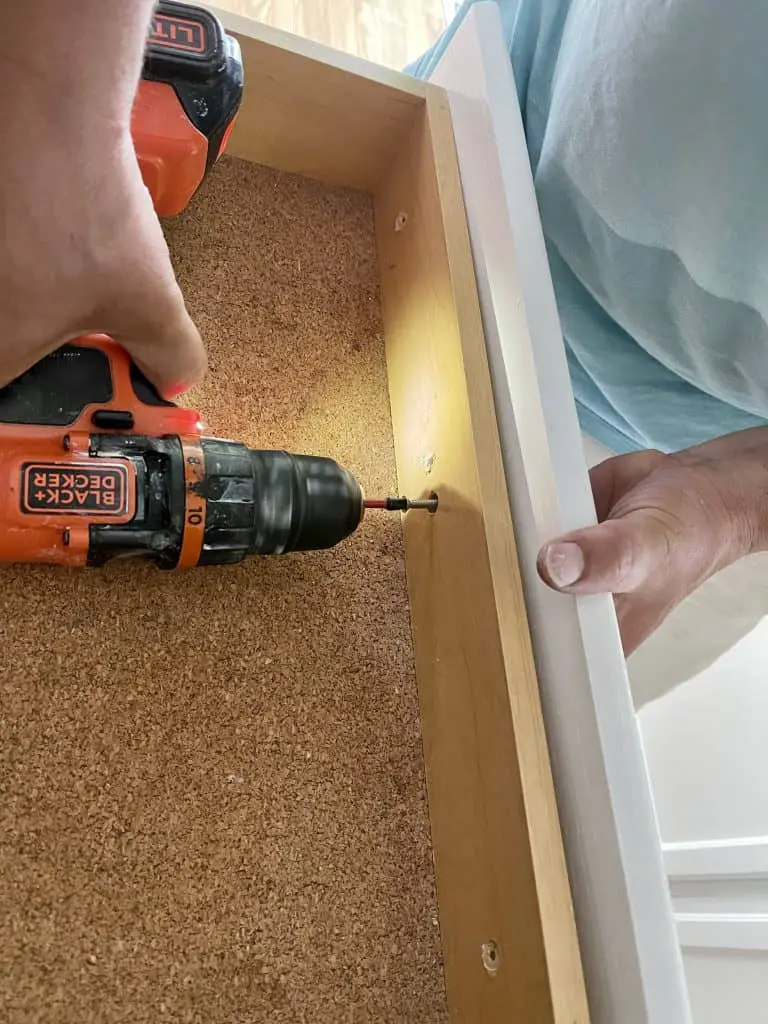
- Be sure your cabinets are properly aligned and fit as they once did. If not, analyze what the issue is and adjust. Time and patience are what it takes to successfully complete your kitchen refresh project.
Step 14: Touch-Ups and Remove Tape
- When transporting and hanging doors it is common to have little nicks in your paint. Don’t worry grab your brush and lightly fill in any of those little areas as necessary!
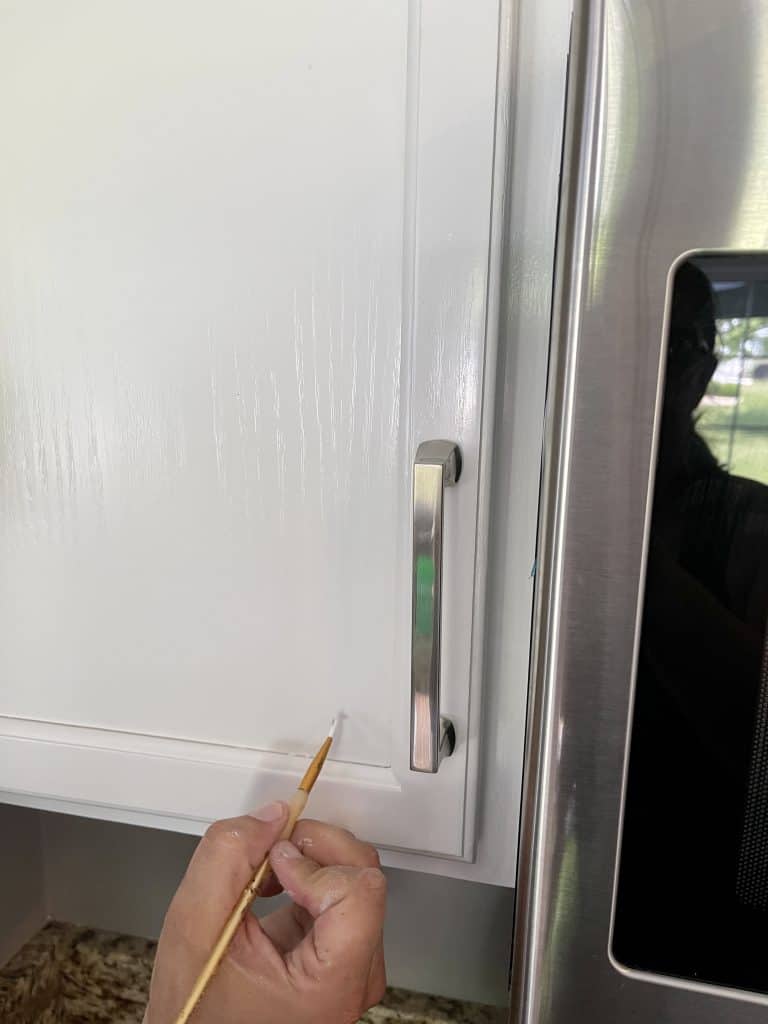
- Carefully remove your painter’s tape. Touch up with paint if necessary to cabinets or any surrounding wall paint as necessary.
Step 15: Enjoy Your New Kitchen Cabinets
As stated before, when you paint kitchen cabinets, they need a full 30 days to be fully functioning. Don’t clean, drill holes for new hardware, or wipe cabinets until your 30 days is up. If something gets on your cabinets, leave it there. Once your 30 days are up we recommend cleaning your cabinets with a damp magic eraser or soft cloth and water only.
Enjoy your hard work and a job well done!
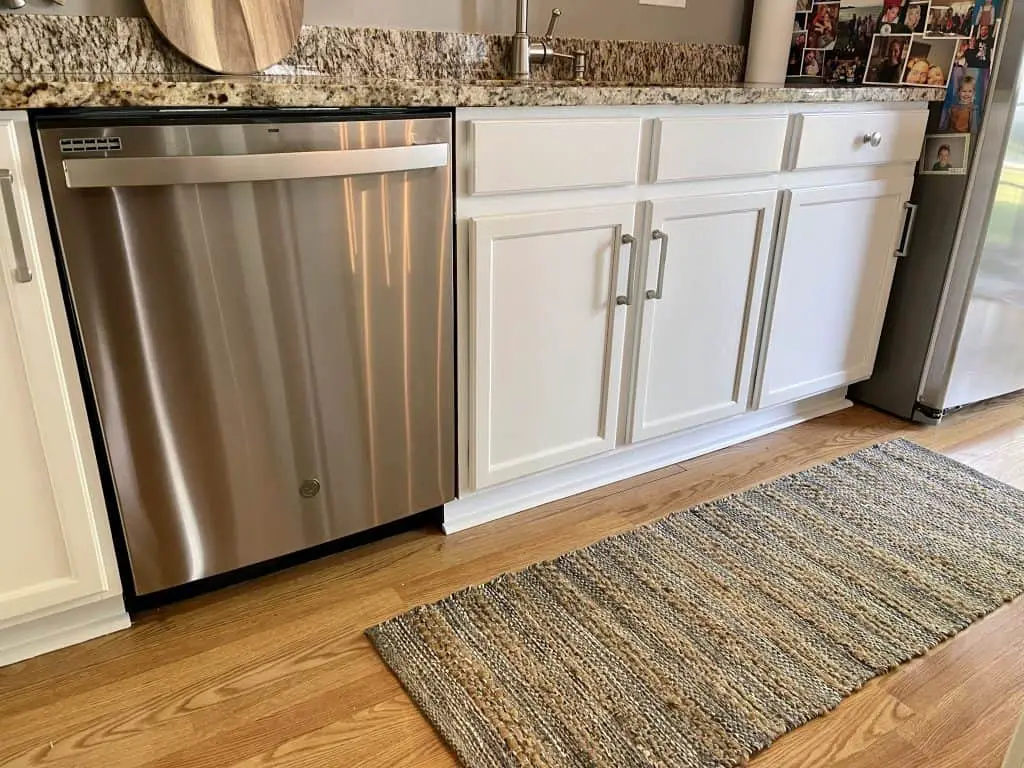
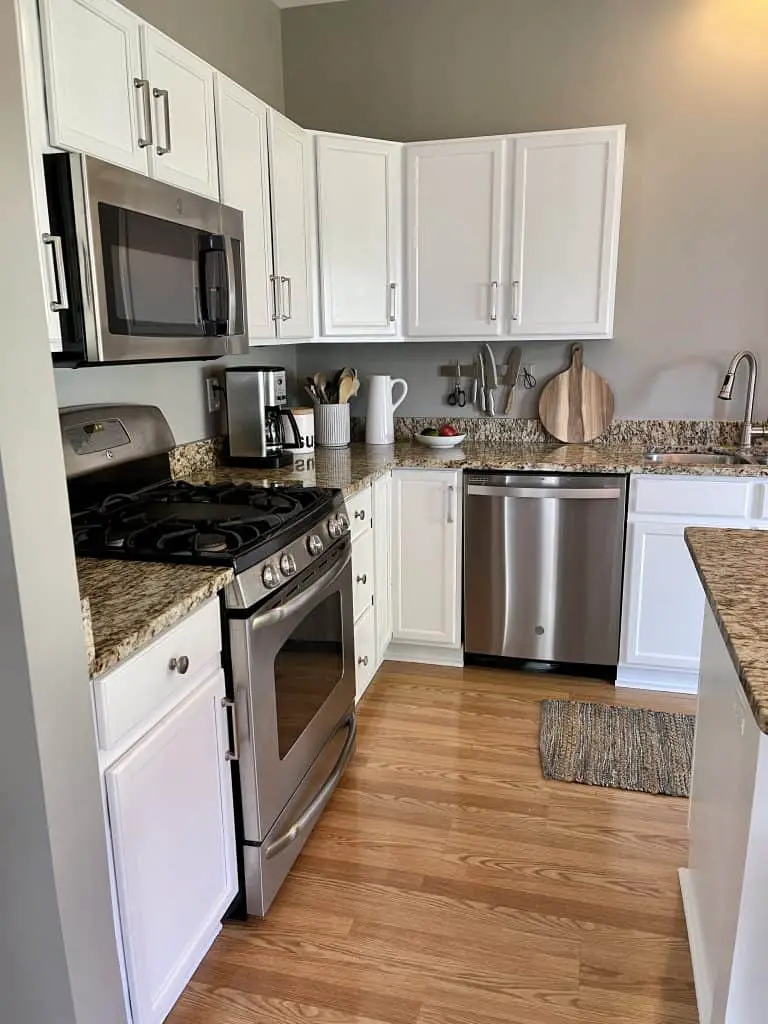
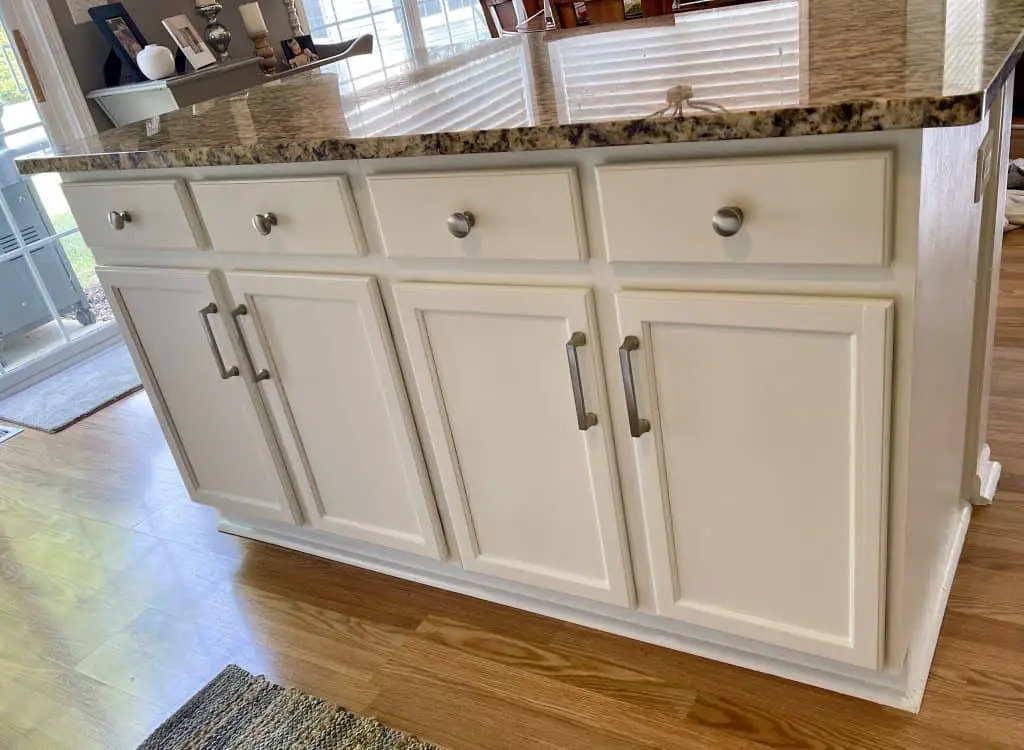
When you learn how to paint kitchen cabinets that are stained instead of replacing them you get a brand new look for pennies on the dollar compared to brand new cabinets. Even if you have to buy all of the supplies listed, you will only spend a few hundred dollars instead of thousands to refresh the look of your kitchen.
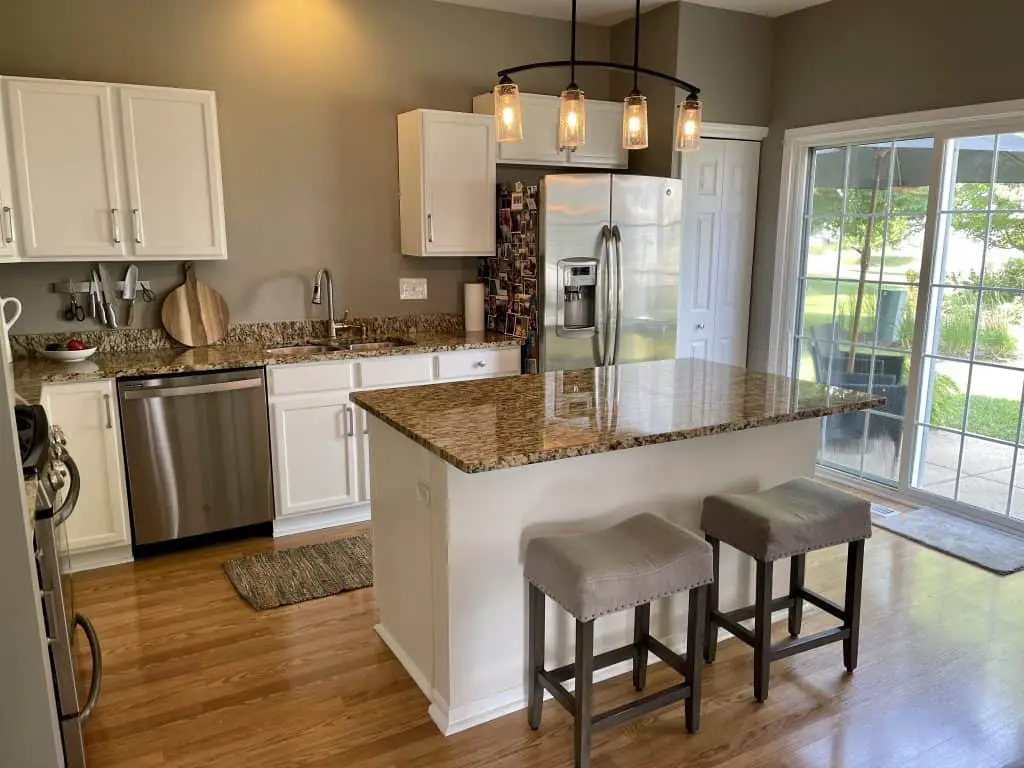
Whether you are looking to modernize your kitchen to stage your home to sell it, or enjoy it yourself, the decision to paint kitchen cabinets instead of buying new ones is not only doable, it’s easy and super affordable.

