This DIY bathroom mirror frame project is so simple, that I was hesitant to even write this post. It’s like the equivalent of writing a recipe for a grilled cheese. At some point, we all learned how to make a grilled cheese, but to call it a “recipe” is a bit of a stretch. Anyway, I’m so happy with the way the mirror frame turned out, that I thought I might as well share my “recipe”.
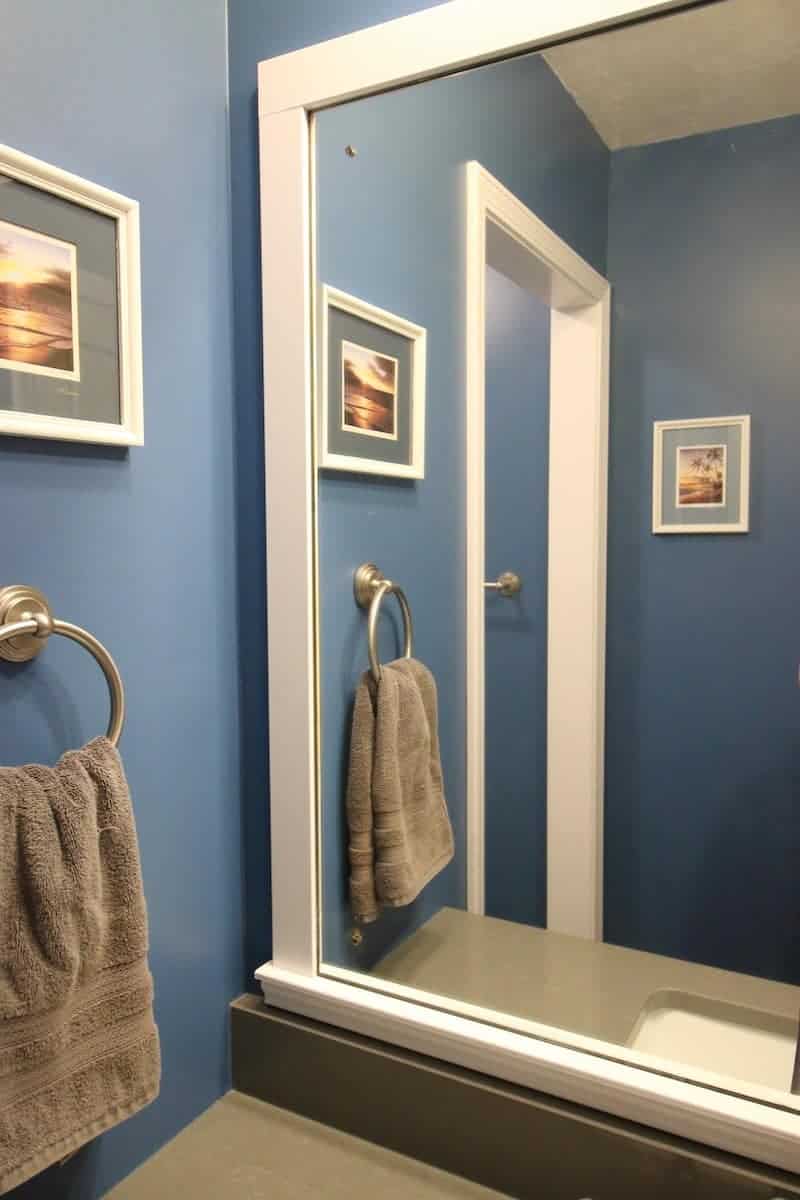
Last spring, we finally remodeled our 1970’s era bathroom. It was a purely cosmetic remodel, and we wanted to do it as economically as possible. For this house, in this neighborhood, a high-end bathroom remodel didn’t make sense. This was a budget remodel, without being completely cheap-o. We decided to keep the existing mirror and put a new frame around it.
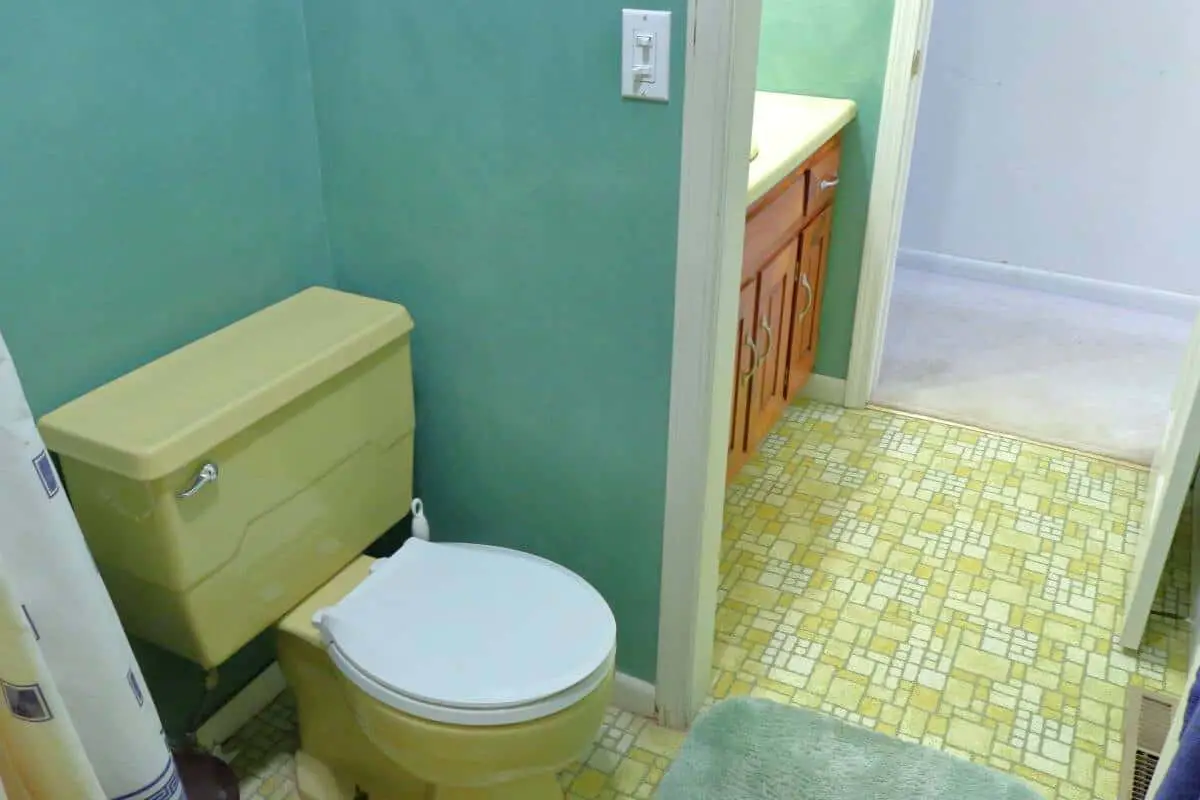
Walking into this bathroom was like stepping back in time. Harvest Gold everything. Wallpaper, tub, toilet, sink, countertop, and floor. All yellow. We had painted the walls and the trim, but just never got around to updating the bathroom.
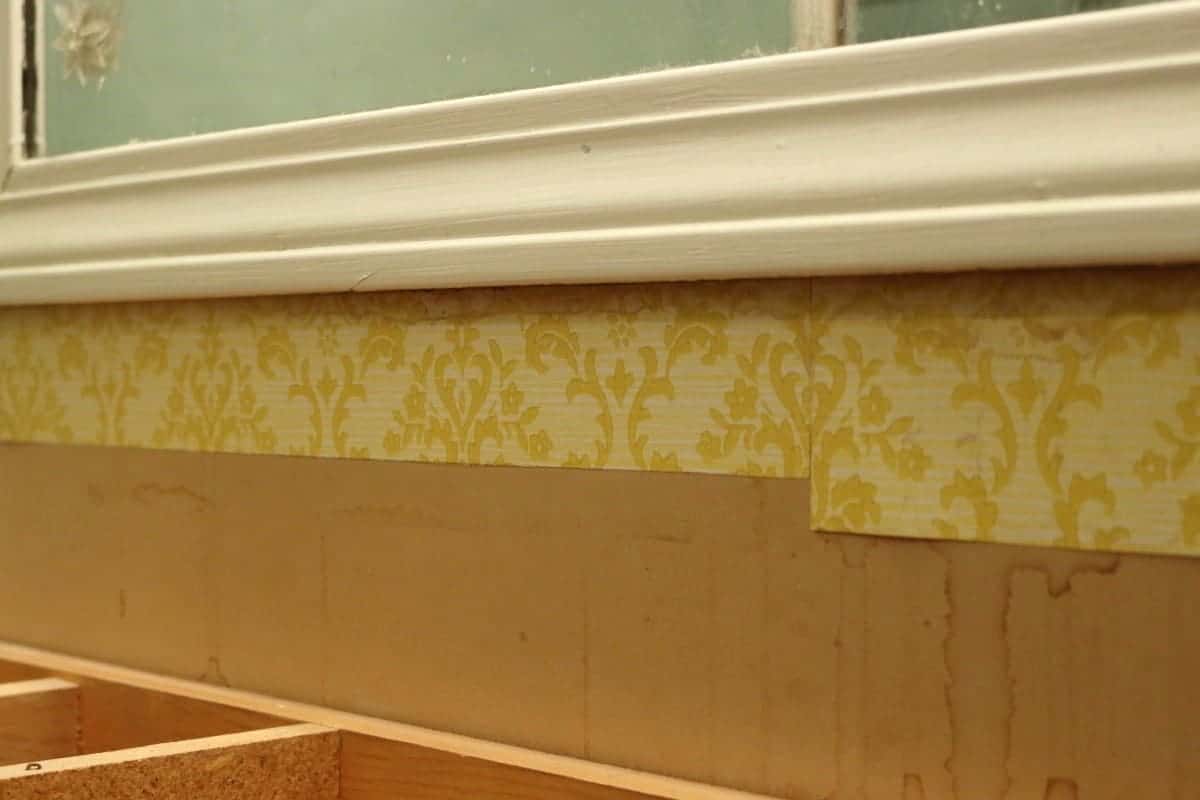
 One of the most satisfying parts of the remodel was ripping off the old mirror frame. It looked so cheap – it was basically a picture frame made with door moulding and painted the ugliest shade of brown. Buh bye.
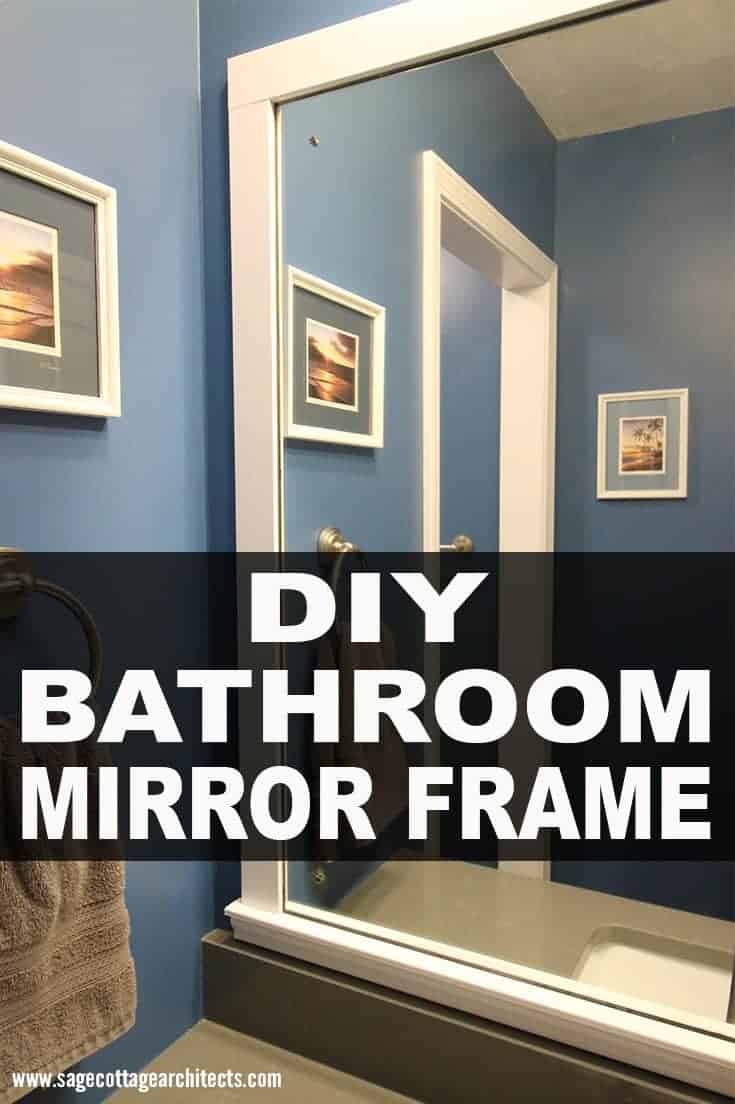
And, here’s what we replaced it with. It’s a super easy DIY project, so keep reading for all the details.
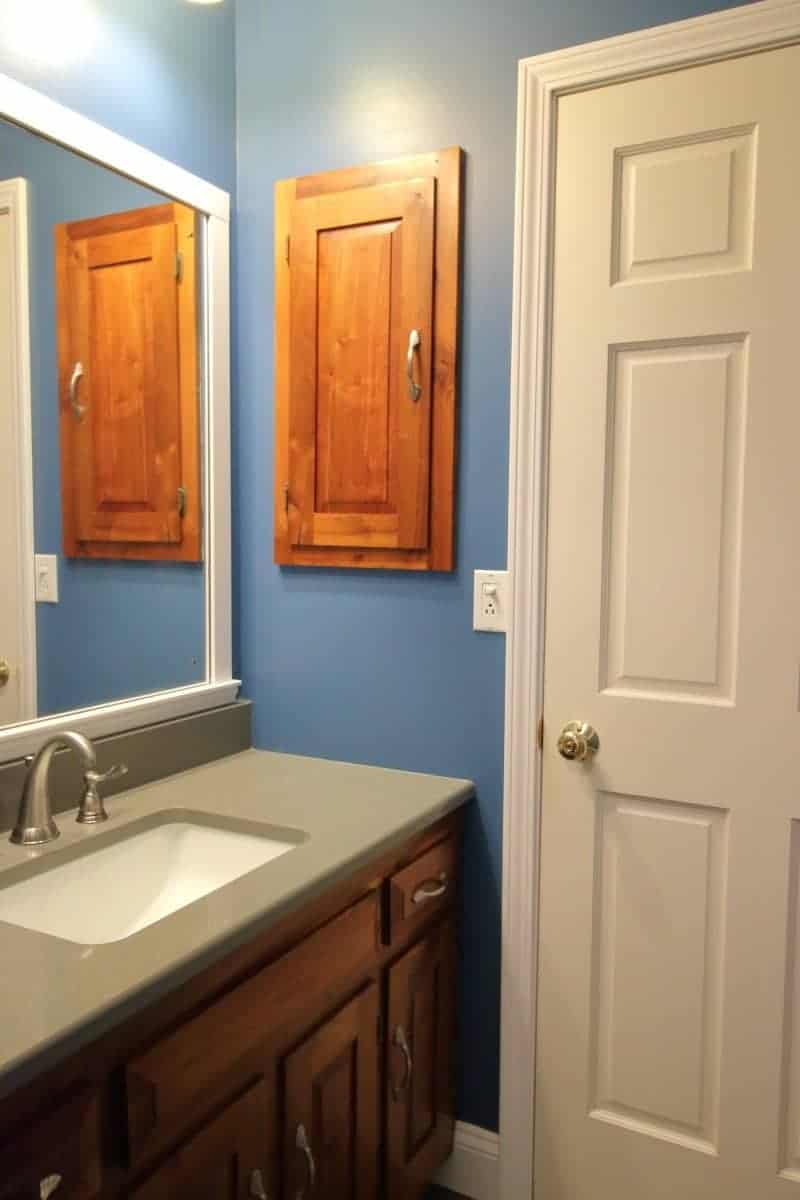
DIY Bathroom Mirror Frame Design
You’ll need to do a little homework and planning before you head to the store. Start by measuring the height and width of the mirror. The side and top trim are all the same kind of molding – a simple 1×3 board. The sides will be the same height as the mirror. The top of the frame will be the width of the mirror plus the width of the two side pieces. Since a 1×3 is actually 2.5″ wide, the top piece will be 5″ longer than the mirror’s width.
For the bottom horizontal ledge, I wanted something that had a slightly rounded front edge. Not a quarter round or a more ornate moulding, but something really simple. Pine Stop moulding turned out to be just right.
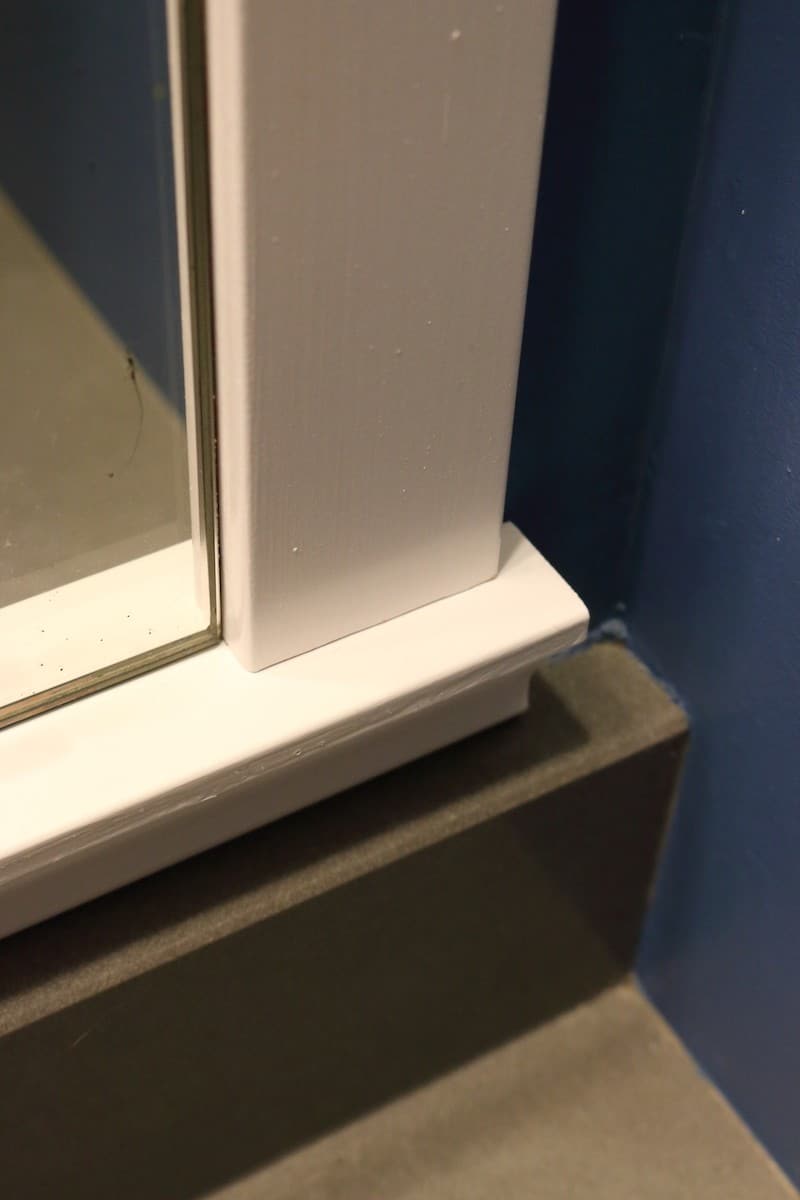
We wanted the vertical 1×3 side pieces to rest on top of the horizontal ledge, and the ledge to extend a bit beyond the vertical 1×3’s. The ledge extends 1/2″ beyond the vertical side pieces. We cut the ledge piece so that it was 6″ longer than the mirror: 5″ for the two side pieces + 1/2″ extension on both sides.
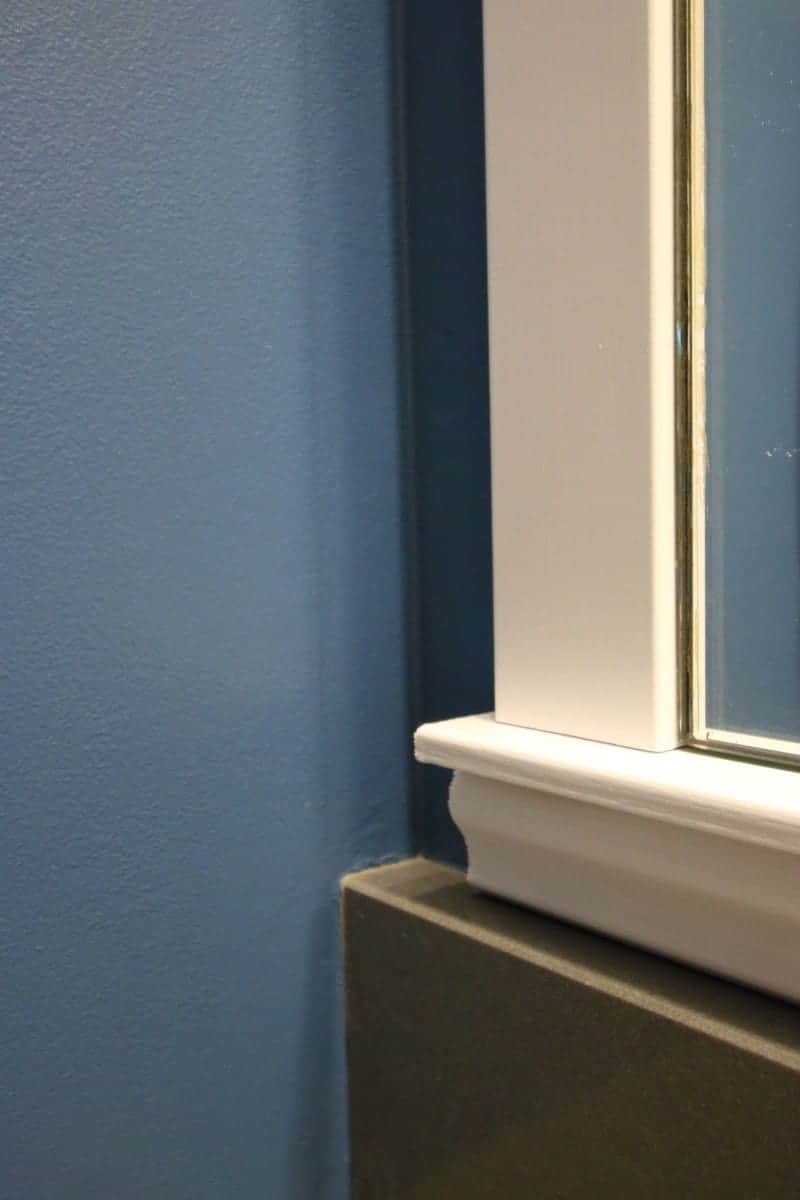
We just happened to have a piece of wainscot panel cap that fit perfectly between the horizontal ledge and the backsplash. For your project, measure the distance between the bottom of the mirror and the top of the backsplash. Subtract the thickness of the ledge, and then try and find a small moulding that will fit.
We’re lucky in that the ends of the ledge face the walls, so you can’t actually see the end. But, if you are can see the end of the ledge moulding, you’ll want to use a little return piece so that all the edges look finished.
DIY Bathroom Mirror Frame Material List
I got all of the trim at my local Home Depot. Here are the materials you’ll need:
- Sides: 1×3 primed trim board – two pieces that are the same height as the mirror
- Top: 1×3 primed trim board – one piece that is the width of the mirror +5″ (2.5″ for each frame side 1×3)
- Frame bottom:
- Ledge: Pine Stop Moulding (7/16″ x 1 3/8″) – the width of the mirror +6″
- Molding: Wainscot Panel Cap Moulding (9/16″ x 1 1/8″) – same length as the ledge
- Paint – I used Behr Alkyd White Semi-Gloss Enamel
- Liquid Nails, caulk gun, masking tape
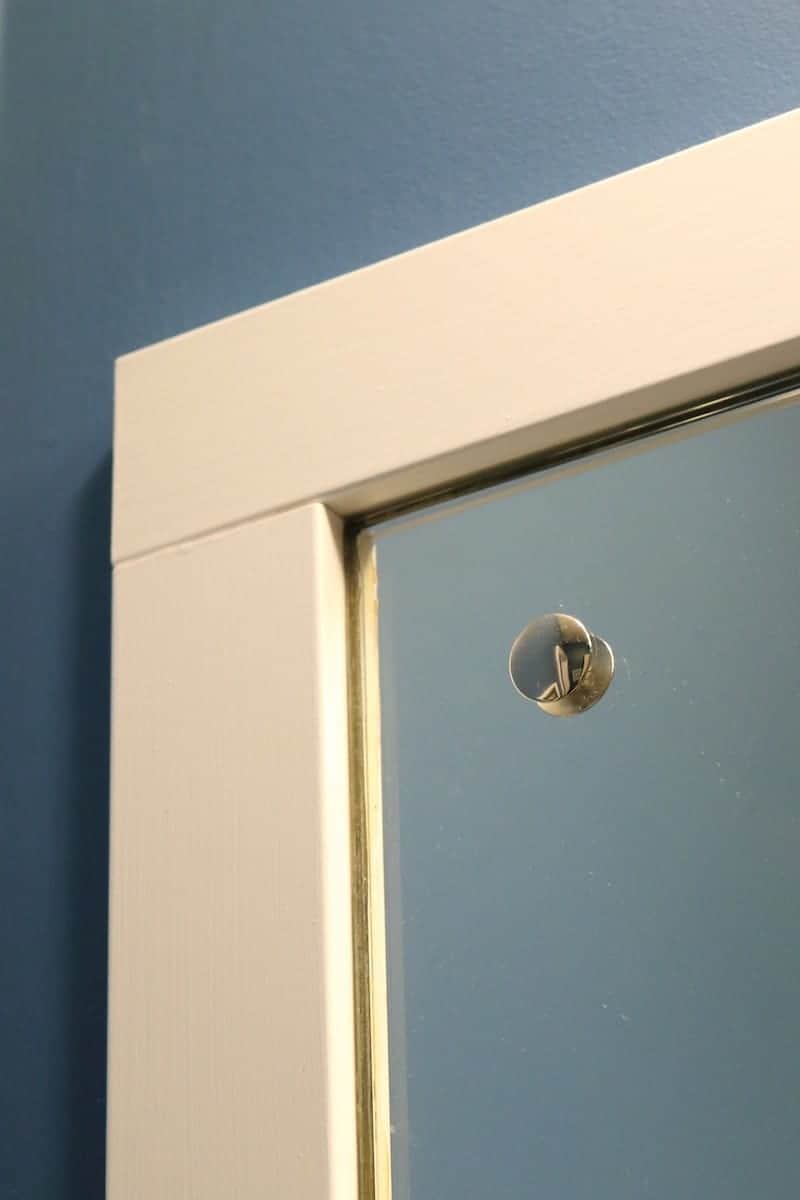
The mirror is secured to the wall with the connectors show below, rather than clips. 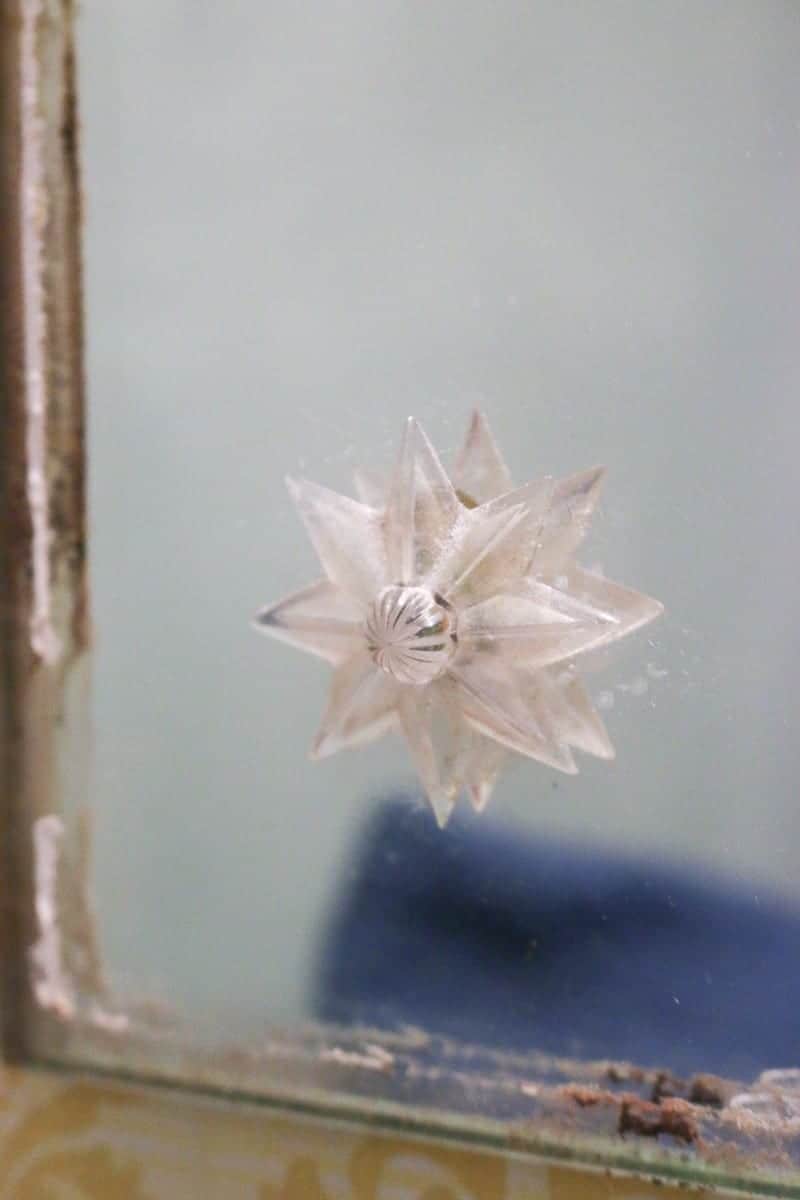
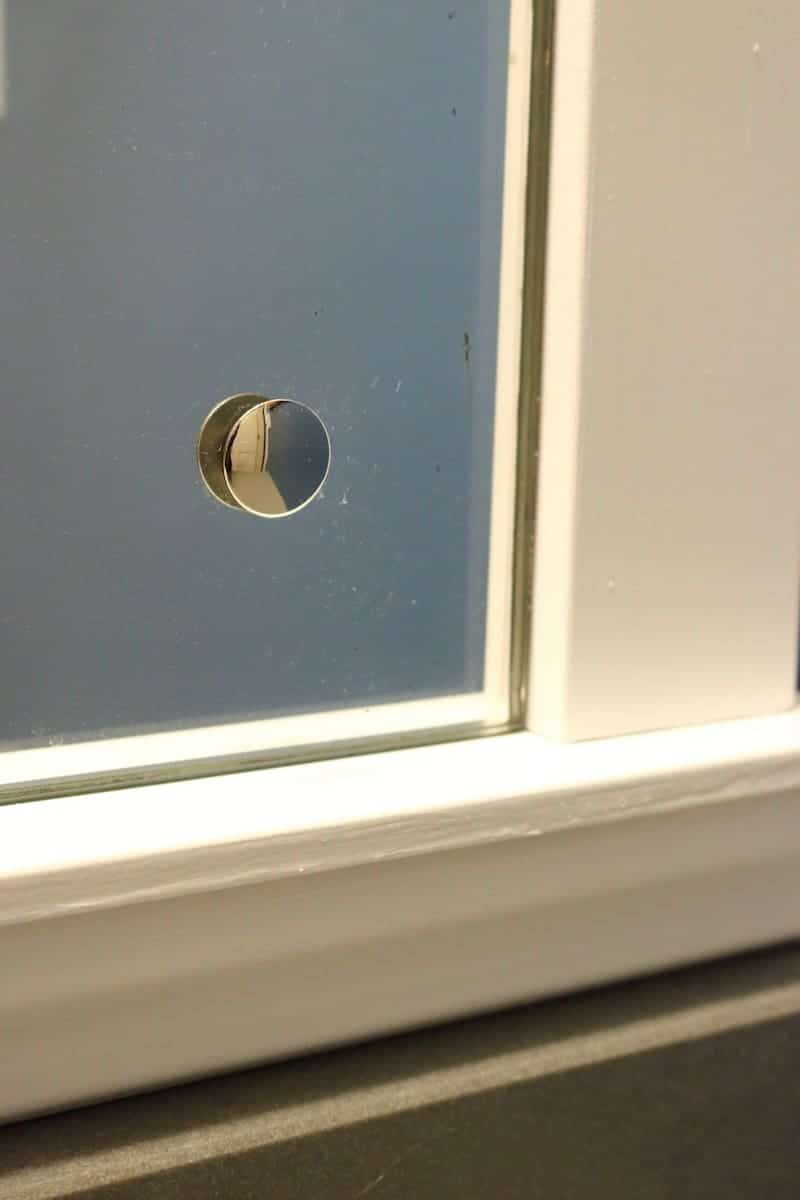
We replaced the plastic daisies with these mirrored buttons.
DIY Bathroom Mirror Frame Instructions
We started by cutting all the trim to the correct length, following the old “Measure twice, cut once” rule. Well, more like measure five times, cut it long, dry fit it, and then cut it again to make sure it’s just right. We were not going to mess this up.
I then painted all sides of the trim with the Alkyd paint. It’s a bit tricky to work with, but worth it. I really love the finish.
Next we glued the side trim pieces directly to the wall. We butted the edge of the trim right up against the edge of the mirror. The Liquid Nails dries pretty fast, so we just held it for a few minutes. Once we had the two sides on, we double checked that the top piece was the right length and that the ends aligned with the outside edges of the side pieces. Then we glued the top piece in place.
For the ledge, we put the square edge against the wall, and the rounded edge facing up and out. We then centered the ledge on the mirror, making sure that the extension beyond the vertical pieces was the same. We glued the horizontal piece to the wall, and pushed it up against the bottom edge of the mirror. Then we glued the wainscot cap underneath the horizontal ledge, and taped the whole thing together with masking tape until the glue dried.

So that’s it. That’s my “recipe” for a DIY bathroom mirror frame. Pretty simple, isn’t it?
Pin this for later!
