Disco is dead, and the Harvest Gold 1970’s bathroom is finally gone! Over the weekend, we finished our bathroom remodeling project, and brought our dated yellow bathroom out of the lawless 70’s and into the twenty-first century. Woo hoo!!
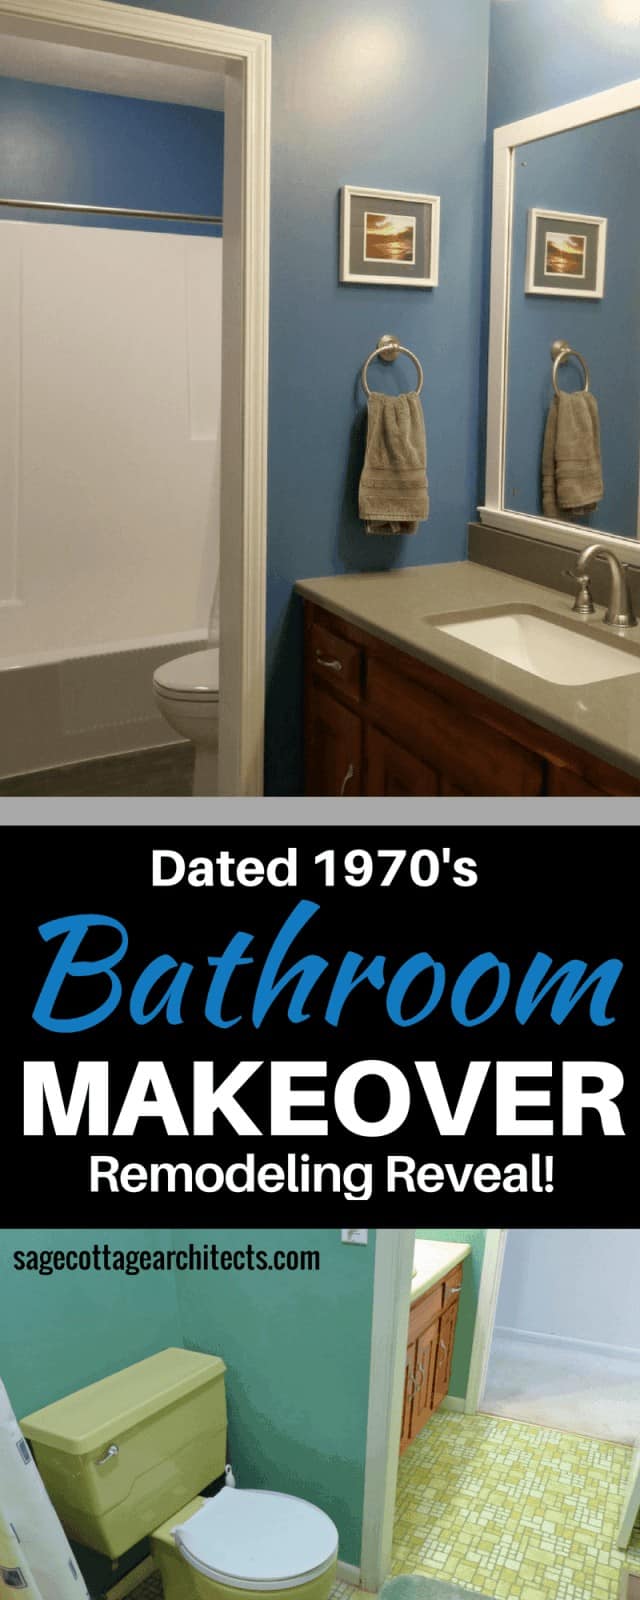
Our Bathroom Remodeling Project – Before
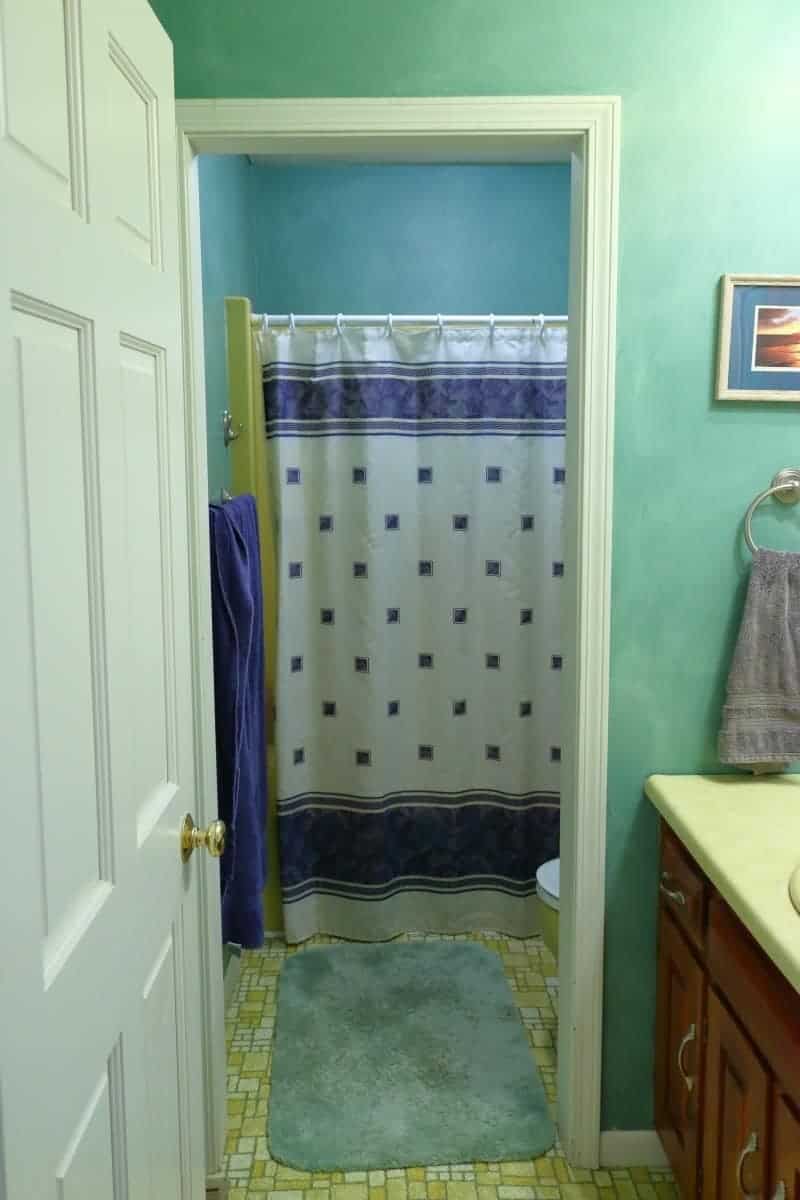
The hall bathroom in our 1970’s ranch style home was entirely Harvest Gold – tub, toilet, sink, vanity countertop, floor, and wallpaper. The 70’s, man.
By the time we moved in, the wallpaper was gone (I found scraps of it behind the trim), so we just painted the walls and lived with all that yellow.
We’ve been planning on renovating it for a very long time, but never got around to it. Life can really get in the way sometimes. We finally decided it was time to tackle the bathroom and a couple of other projects, including replacing the Avocado Green kitchen counters.
Here’s the “Before” picture (check out My 1970’s Bathroom Remodel – Before for more photos and details – including the saloon doors).
Design
We hired a contractor and had grand plans for a bathroom renovation. You know, the whole “dream bathroom” thing. Unfortunately, that didn’t work out.
Since the vanity countertop had already been manufactured, we didn’t want to wait for another contractor to be available, and we had a small window of time when we could function without this bathroom, so we decided to do the work ourselves. We’ve done several DIY home improvements projects in the past, but nothing this big.
Because we were replacing a very dated bathroom, the main design concept was to create a non-trendy room that did not scream “2018”. We also decided to rein in the budget and try to remodel the bathroom as economically (without being cheap!) as possible.
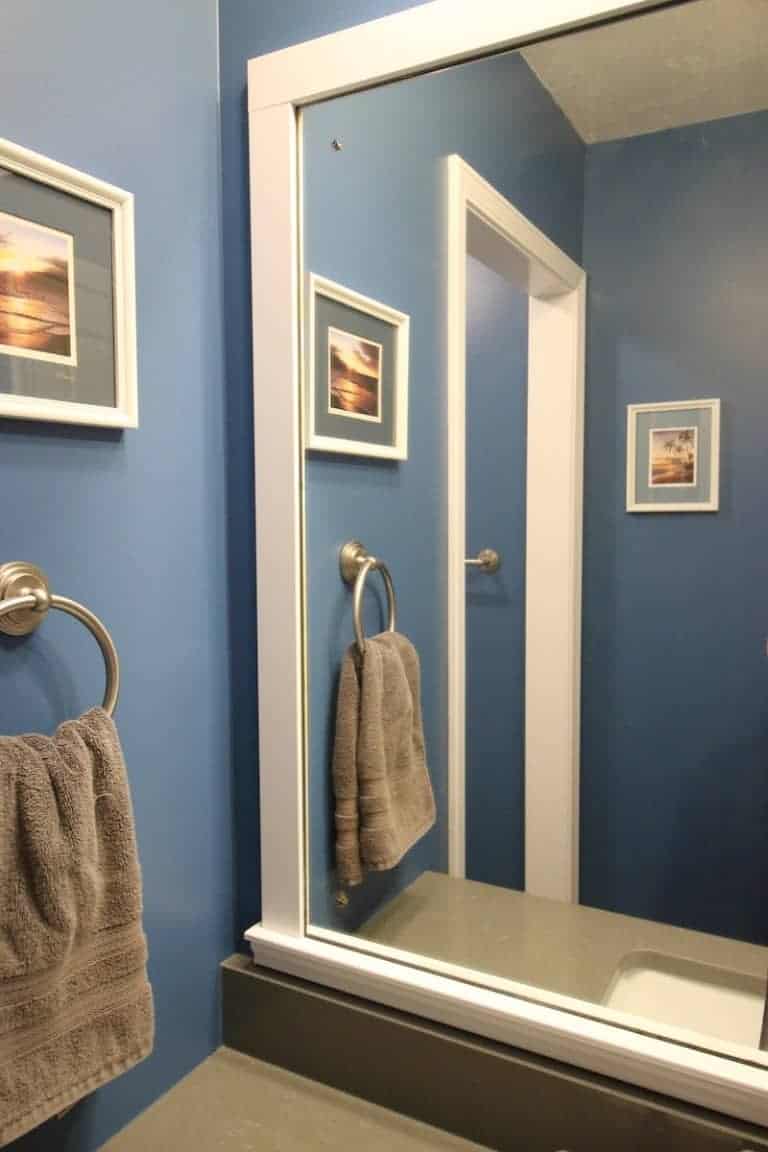
Finally, because it is a small bathroom and we were only making cosmetic changes, we wanted to put some “wow” in to it. With that in mind, we chose a color palette of dark gray, deep blue, and bright white.
Our Bathroom Remodeling Project – After
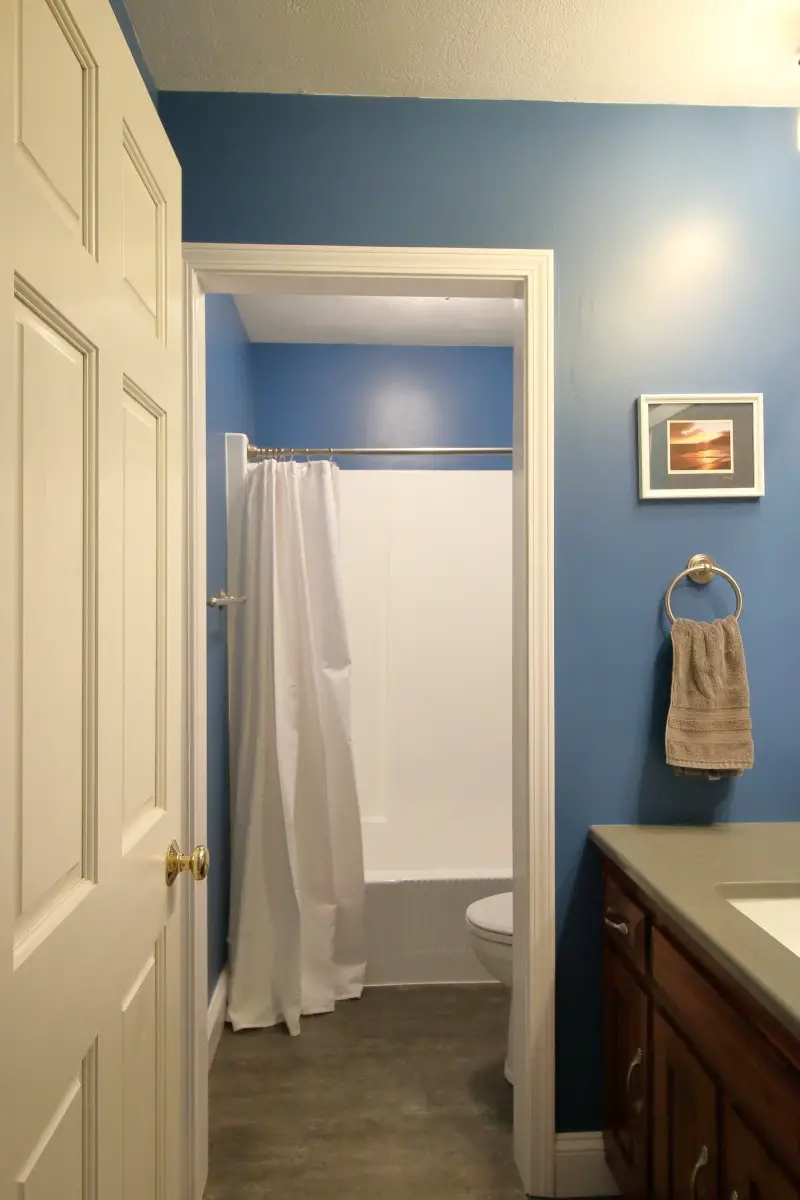
And, here’s the “After”. What a difference!
Our Bathroom Remodeling Project – The Details
Ceiling
We decided to start with the ceiling, and work our way down to the floor. The ceiling had a light popcorn texture, a fairly large crack and a couple of patches from moving ceiling mounted lights. Initially, we were going to scrape off the popcorn texture, but were concerned that the gyp board was in poor condition and the ceiling would look worse.
We decided to fix the crack and try to apply a light knockdown texture over the popcorn, which would hopefully cover everything. We got lucky with the crack; the drywall had fallen off the ceiling framing so a few screws pulled it back into place, and spackle covered up the crack.
I used drywall texture and a nubby roller to put a slight knockdown texture over the popcorn, and then painted the ceiling.
Tub & Shower Unit
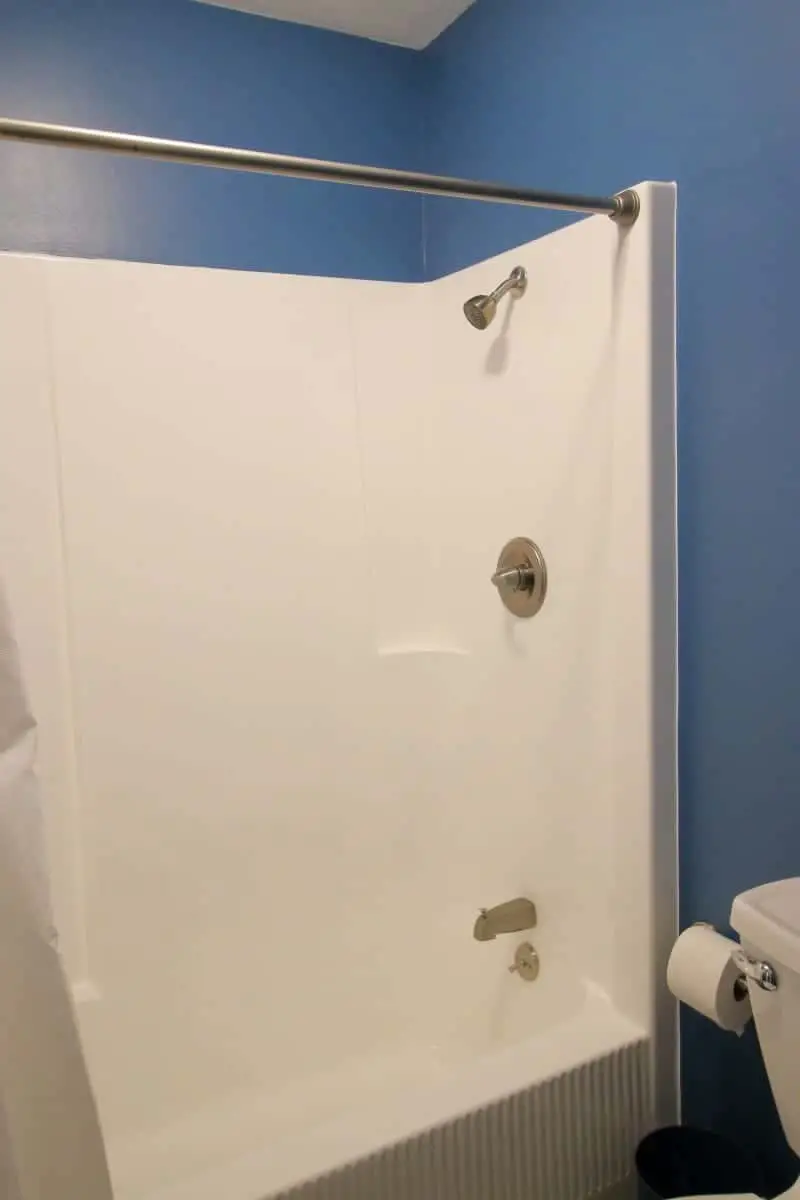
I refinished the fiberglass tub/shower unit using Rust-oleum’s Tub & Tile Refinishing Kit. It’s been about a month, and it still looks great. We haven’t had any problems with the paint bubbling, chipping or peeling. My DIY Bathtub Refinishing post has all the details and some advice.
The faucet set was relatively new so we kept it.
Vanity
At the beginning of this bathroom renovation project, we decided to keep the vanity and medicine cabinet. We’ve been told a previous owner built them. They are made of hickory, and match the cabinetry in the kitchen and master bathroom.

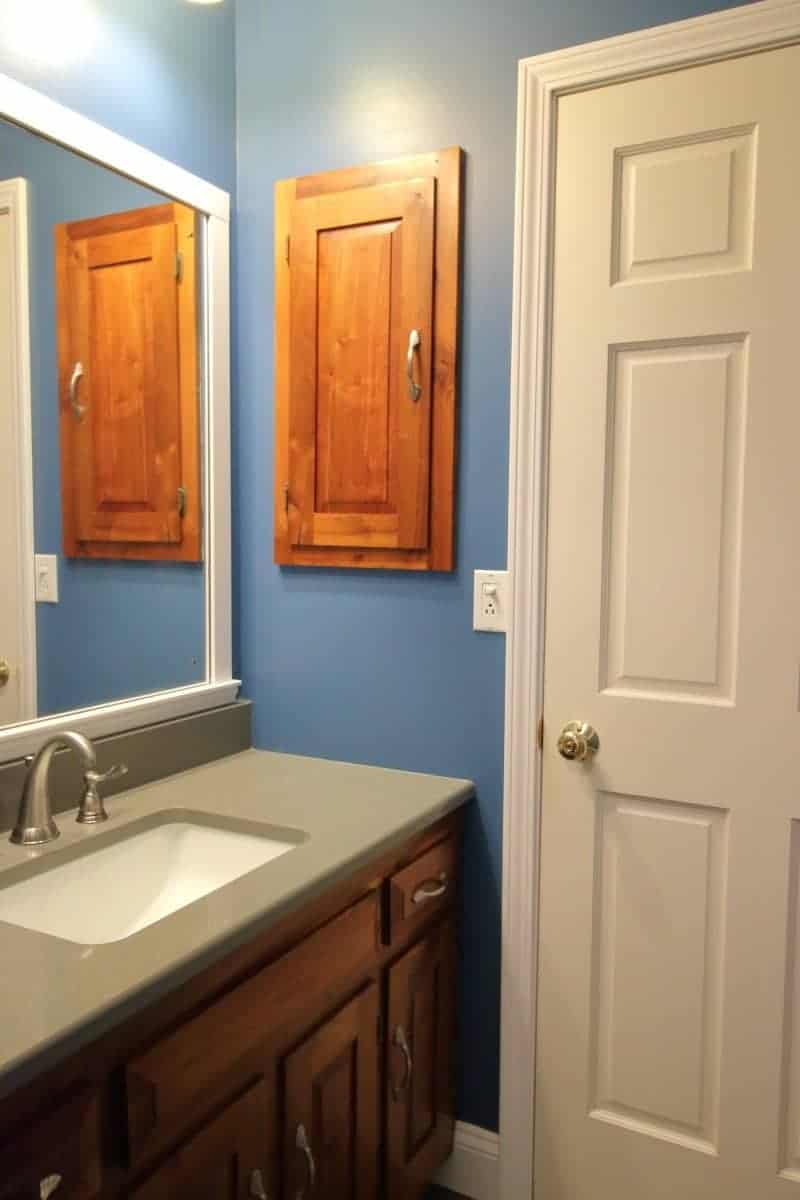
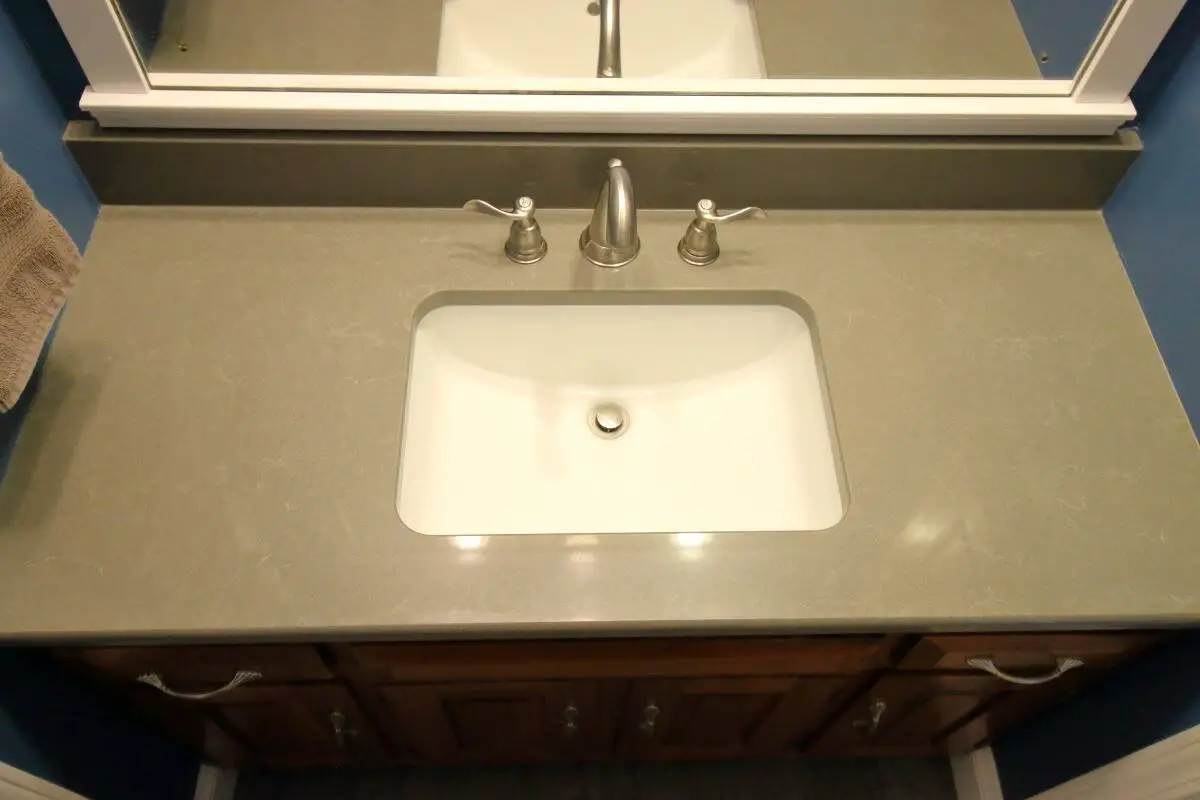
For the countertop, we chose Vicostone Quartz “Uliano” with a white, rectangular, undermount sink. We went with a simple 4″ tall backsplash made from the same material.
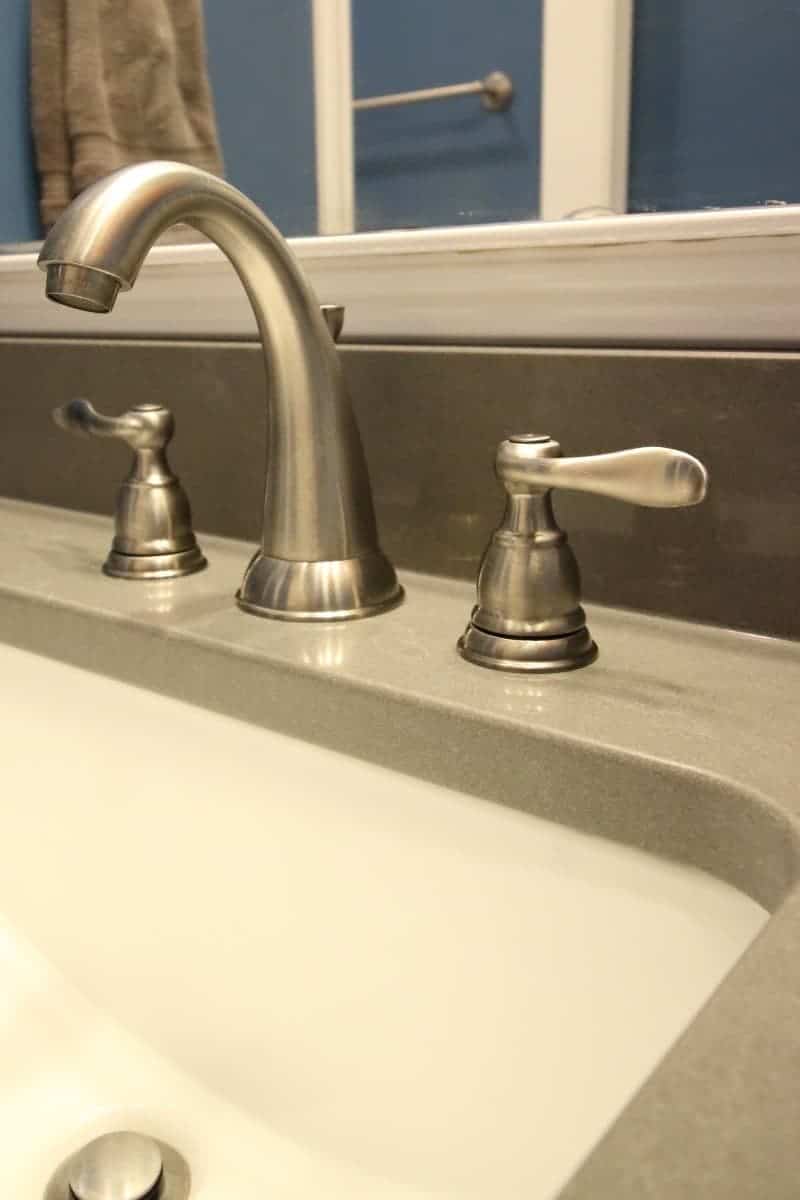
The faucet is Delta’s Windemere Brushed Nickel.
Toilet
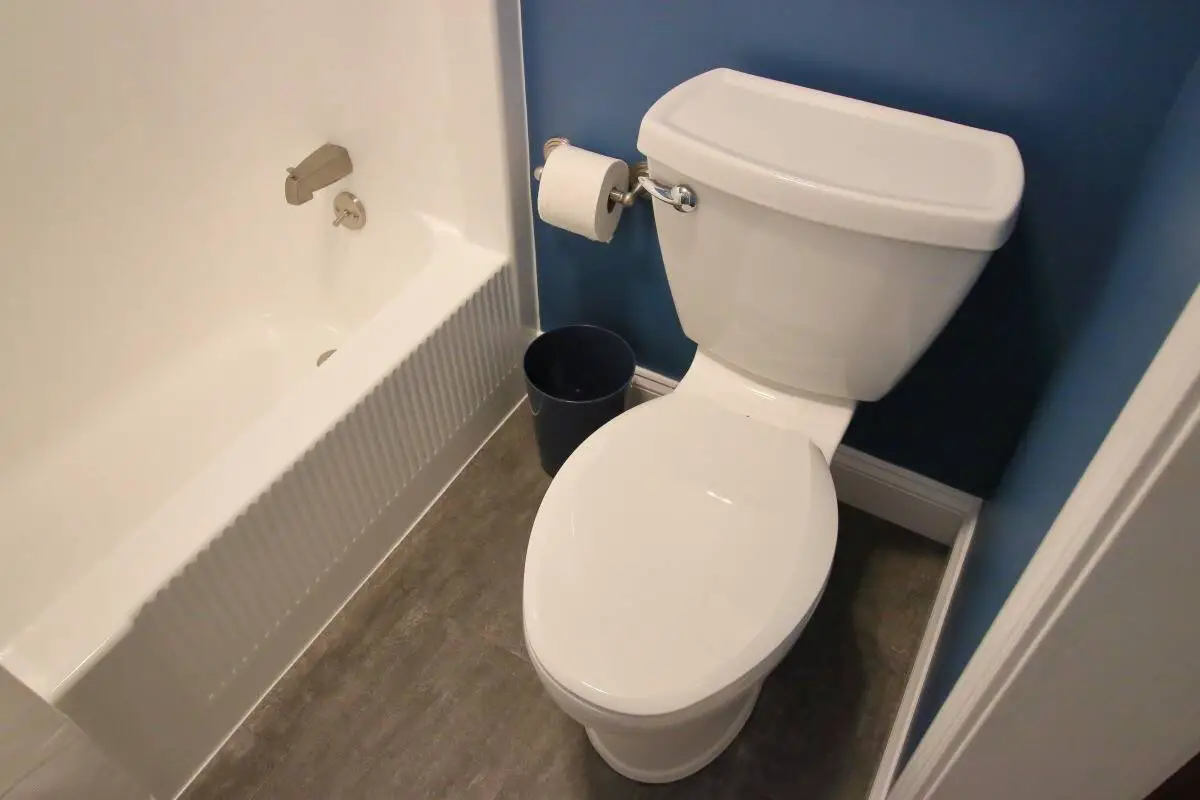
I took Kim’s recommendation and bought an American Standard Titan Elongated Toilet. So far, it’s living up to its reputation, and I’m impressed with it’s flushing ability.
Flooring
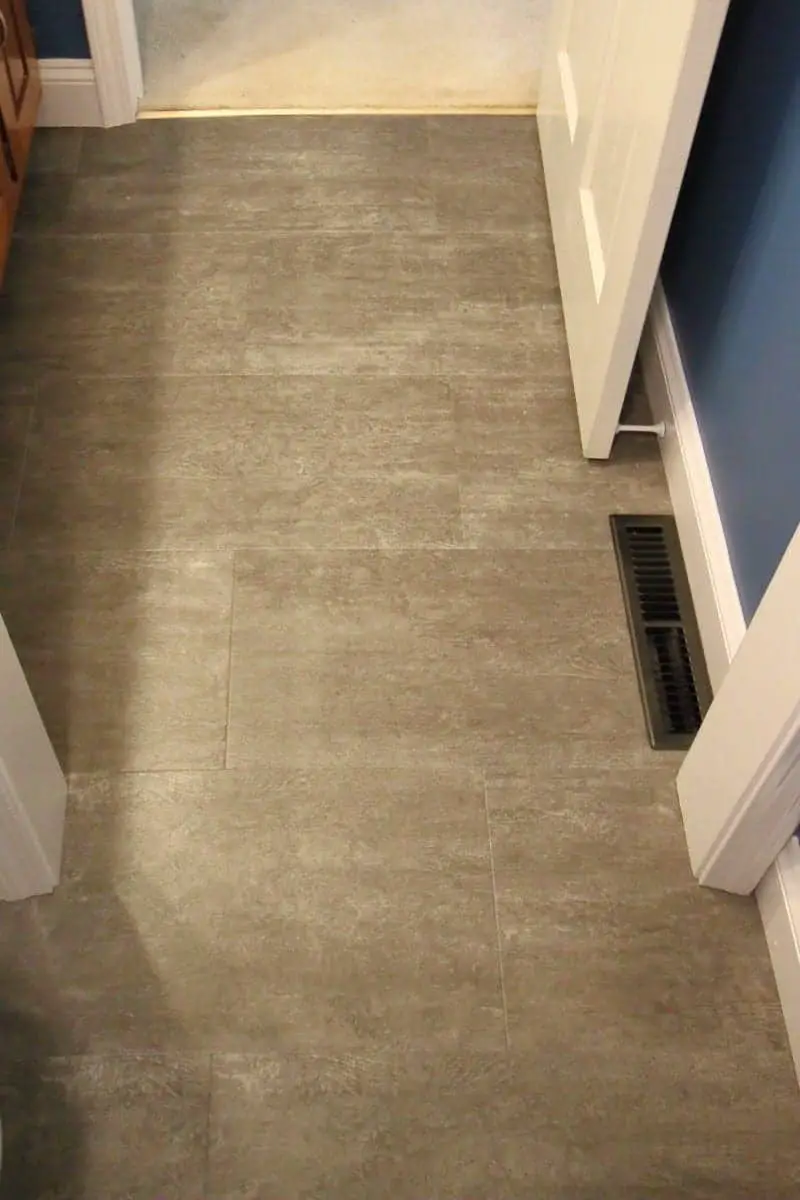
Rather than trying to DIY a ceramic tile floor, we choose a luxury vinyl tile for the flooring. It has the look of tile, but was much faster and easier to install. We had Armstrong Alterna Luxury Vinyl Tile – Enchanted Forest “Night Owl” in 12″x24″ installed, and chose to not have grout lines.
Mirror
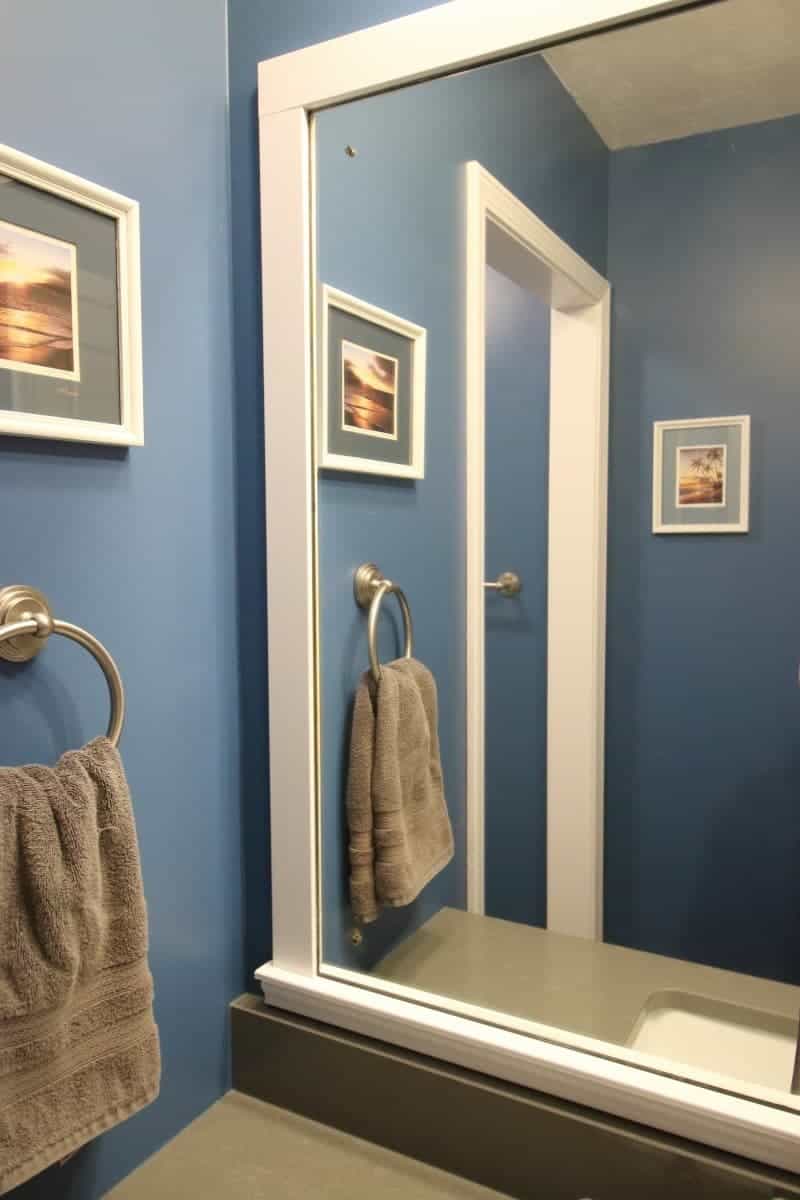
We kept the original mirror, but removed the cheaply made frame. They had used “Gibson Brown” door casing trim, and it was so ugly. It was very satisfying to yank that off the wall!
I liked Full of Great Ideas’ mirror frame, so that was our starting point. We tweaked their design to fit the scale and space of our wall.
Here’s how we did it – DIY Bathroom Mirror Frame Project
Baseboards
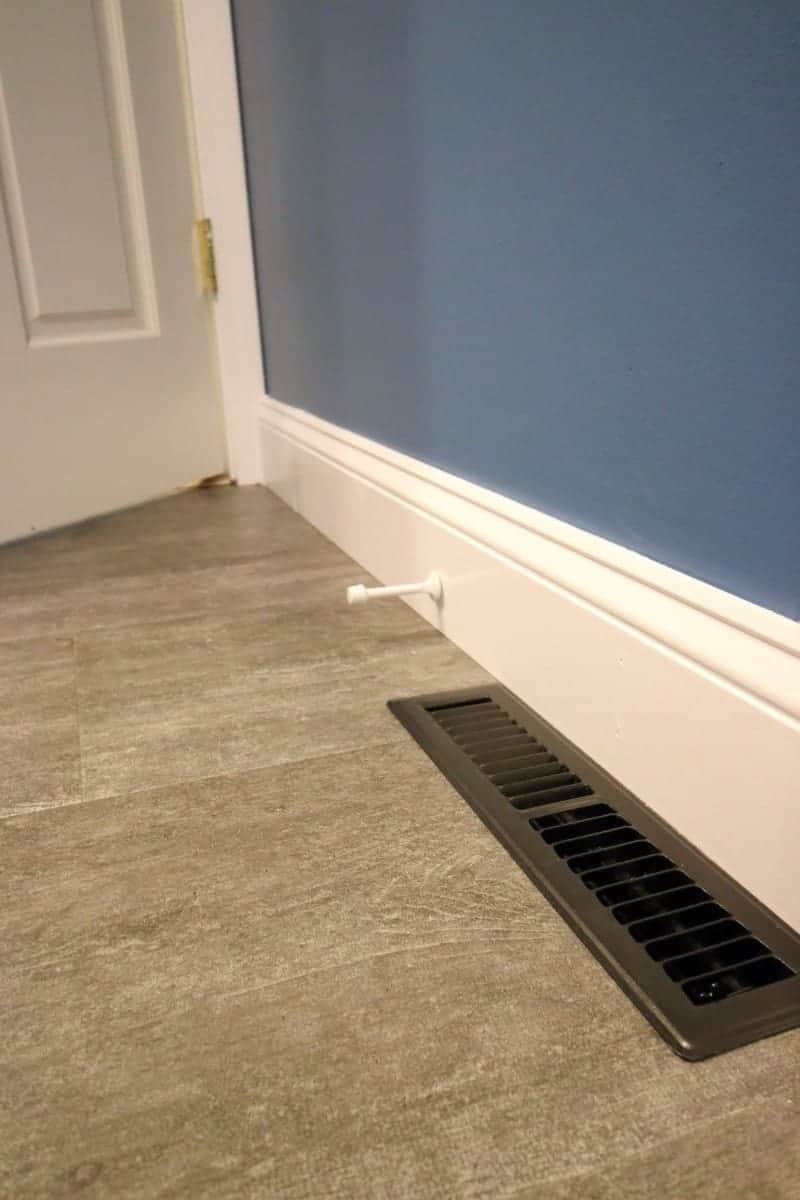
The original baseboards in the house were only 2.5″ tall, and dark brown. Years ago, we painted it white, but that was starting to chip off, and we wanted something with more character. Replacing it with 5.25″ tall Alexandria MDF moulding from Home Depot is such an improvement.
I had some Rust-oleum Oil Rubbed Bronze spray paint, so I painted the old floor register to go with the new flooring. (I’ve pretty much painted everything in this room!)
Paint
We chose this color palette, because we wanted some “drama”. The contrast of deep, rich colored walls with bright white trim provides that drama. The walls are painted with Sherwin-Williams Down Pour (SW 6516), in a satin finish, while all the trim is Behr Alkyd White Semi-Gloss Enamel. I’ve never worked with an alkyd paint; it definitely takes getting used to, but I love the finish.
Lighting
We did not change the lighting fixtures during this bathroom remodeling project. That’s not to say I’m happy with the lighting, but I couldn’t find anything that would work. The light is ceiling mounted, and the hole is fairly close to the back wall.
I could not find a ceiling mounted light that would fit, and that was approved for use in a bathroom. After searching for weeks, we decided to just keep the one we have.

We did most of the work ourselves, except for the flooring and toilet installation. The project took about two months to complete, but we were pretty inconsistent in working on it daily. For the most part, we were able to continue to use the bathroom during the remodel, so there wasn’t really a need to rush.
Although we had to switch directions with our design, and didn’t get our “dream bathroom”, this bathroom remodeling project is done and we are so happy with it.
I think you accomplished your goals. I love the rich blue color. Great job.
Thanks! I love the blue too!!